Wednesday, February 19, 2020

The Card Concept 129 With Honey Bee Stamps

 
Hi friends. Do you love to be home? I sure do. Between work and everything else I feel like I am home less and less. That is why I was inspired by the "Home Sweet Home" on the snowman along with the pine cones & greenery.
I would define my style for this card as:
7. Mixed Media
  • two or more mediums (for ex: inks, embossing powder, pencils, pastels, watercolor, charcoal, markers, pigments, mica powder, etc.)
  • may include dimensionals - embossing paste, gesso, fabric, found objects, papers, foils
  • may include heated elements- encaustic wax, embossing
  • can be a variety of styles- CAS, Graphic, Shabby Chic, Grunge
  • basically use of two or more mediums qualifies as Mixed Media. 

I started with this beautiful stencil from Pretty Pink Posh called Christmas Background:

It had all the greenery and pine cones that I wanted to use. I cut a 12" X 12" piece of American Crafts Vicki Boutin Foundations Media Paper into 4 pieces 6" X 6". This paper works well for mixed media techniques, water color and pastes. It's sure a good paper to keep in stock. Also, it's a pretty white and inexpensive, too.

This is a spray box that I use for card making. It's great to capture random splatters and sprays and is really inexpensive. Currently available at Amazon, its named the Color Catcher. I sprayed some Pixie Spray lightly on the back of the stencil, waited a few minutes, then set it on top of the Vicki Boutin paper. Next, using Ranger's Distress Sprays I sprayed the stencil with Peeled Paint, Spiced Marmalade, Mustard Seed and a bit of Picket Fence. Lift the stencil straight up after the spraying is completed.
Once totally dried, I used Spellbinders Large Die of the Month for October 2019 (Floral Lace Frame) to cut a frame out of the 6" X 6" piece that was sprayed. I cut another piece out of the Vicki Boutin's Foundation Media Paper and used the insert with the Stampers Anonymous Woodgrain Stencil with Tea Dye Distress Ink:


Next, I stamped on over the wood stencilled piece, Honey Bee's Home Sweet Home stamp set with Scrapbook.com's Dark Chocolate Hybrid Ink. The final step was to die cut out of Neenah Classic Crest with the matching die - the floral borders and the word "Sweet" and its background:
I ink blended the leaves with Distress Ink in 2 shades of green and the word "sweet" and the little hearts with Simon Hurley's Traffic Cone and 2 other shades of Distress Ink. The leaves, hearts and "sweet" were glued to the wood grain insert and finally the insert was popped up with foam tape.
The inside  is a fun sentiment from Impression Obssession by Kalani Allred called "Home is Where":
I made one more card with the "Home is Where" stamp set and the insert of the sprayed stencil:

Thanks so much for staying with me and this long post! Give The Card Concept Challenge a try. Inspiration exists everywhere!


*Some of the links in this post are affiliate links. This means if you click on the link and purchase the item, I will receive a small affiliate commission at no extra cost to you. All opinions remain my own.

Saturday, February 15, 2020

SugarPea Designs Mix It Up Challenge Feb. 2020

Hi friends! Welcome to SugarPea's Mix It Up Challenge for this month. I was inspired by both the picture, the colors and the sketch, so I mixed it up! I ended up making 4 cards since I was having so much fun with these stamps.
I used Vicki Boutin's Mixed Media Paper by American Crafts. They are 12" X 12" sheets and easily cut into 4 pieces. I taped each to a hard board to prep for water coloring.
First I wet the papers with a large brush and clean water. Water color will go where the water is, so you can fill as much or as little you want on the card stock. Next, using Winsor & Newton water color paints (listed below) I dropped in color and let it spread. I let dry overnight and some were sprinkled with water-downed paint splatters using my Clear Snap Color Catcher to keep the splatters contained!


Once dried, I stamped with the You're My Type stamp from SugarPea Designs using Versamark Black Ink. Each has a different little sentiment from the same set. The fun checkerboard was stamped using the Jukebox Jive stamp set also from SugarPea Designs. I stamped it twice and cut it into various widths and lengths as shown on the sketch challenge.
The inside for each is again, a simple coordinating sentiment from the stamp set. I have a camping friend undergoing some difficulties and this was for her.
Here are the 4 completed cards. The 2 front ones are the ones inspired by the sketch challenge.
Some individual pictures of the cards:
Washi tape from my stash was used on this card:

I hope you found some inspiration here! These SugarPea Designs products, stamp like a dream right out of the package, even the little sentiments.
Thanks for stopping by today, crafty friend! All available items are shown below.
*Some of the links in this post are affiliate links. This means if you click on the link and purchase the item, I will receive a small affiliate commission at no extra cost to you. All opinions remain my own.

Wednesday, February 5, 2020

The Card Concept 128 with The Stamp Market

Welcome to the Card Concept Challenge #128 with this fun inspiration photo:
My card was inspired by the graphic pillows and clean lines for a Clean & Layered Style:

2. Clean and Layered

Definition:
  • clean lines
  • lots of layers
  • designer papers/embossing
  • embellishments/accents
  • clean and fresh looking
  • some coloured images at times
  • white space
I used a bold stamp set from the Stamp Market called With Love (obviously) for my sentiment which I white heat embossed about 4 times on MFT's Black Licorice card stock. Using a stamp positioner such as the MISTI and keeping the stamp in place it is easy to put the card stock back in and stamp with Versamark each time before adding more white embossing powder. Heat set it each time. Once cooled, I use a heart die from my stash to cut it out.
The background is Scrapbook.com's Bold Stripes Stencil with Simon Hurley's Rosy Cheeks and Bee Sting ink blended over it keeping it darker along the edges. I then sprinkled a little water over the stripes and blotted with a paper towel to get a soft dreamy effect in the background. The main heart was layered over another heart cut of black card stock. The back heart I covered with Nuvo Glitter Gloss and offset the 2. All popped up with 3M Foam Tape.
 
The stamped hearts are from the same Stamp Market With Love set. It is a small set but so versatile, could be also be used with a grunge style. The inside has a simple sentiment from MFT's More Essential Sentiments:


I like it for Valentine's Day for my hubby. Not too girly!

I hope you've enjoy my take on the Card Concept challenge and please play along with us. There is nothing like a challenge to get the creative juices flowing! If you click on the Challenge Photo above, it will take you to the Card Concept's blog with all the details.

All products mentioned and the ones I use are shown below. Thanks for sticking to the end!
*Some of the links in this post are affiliate links. This means if you click on the link and purchase the item, I will receive a small affiliate commission at no extra cost to you. All opinions remain my own.

Sunday, February 2, 2020

Waffle Flower Feb. 20 with CTD 578


Hi friends and welcome to Super Bowl Sunday! Are you crafting and watching the game? That is my plan. I wanted to do a quick post for Waffle Flower February 2020 and Color Throwdown #578 - colors of red, light grey, dark grey and white. Really fun colors to work with...check out the link to the challenge to see all the amazing cards created.

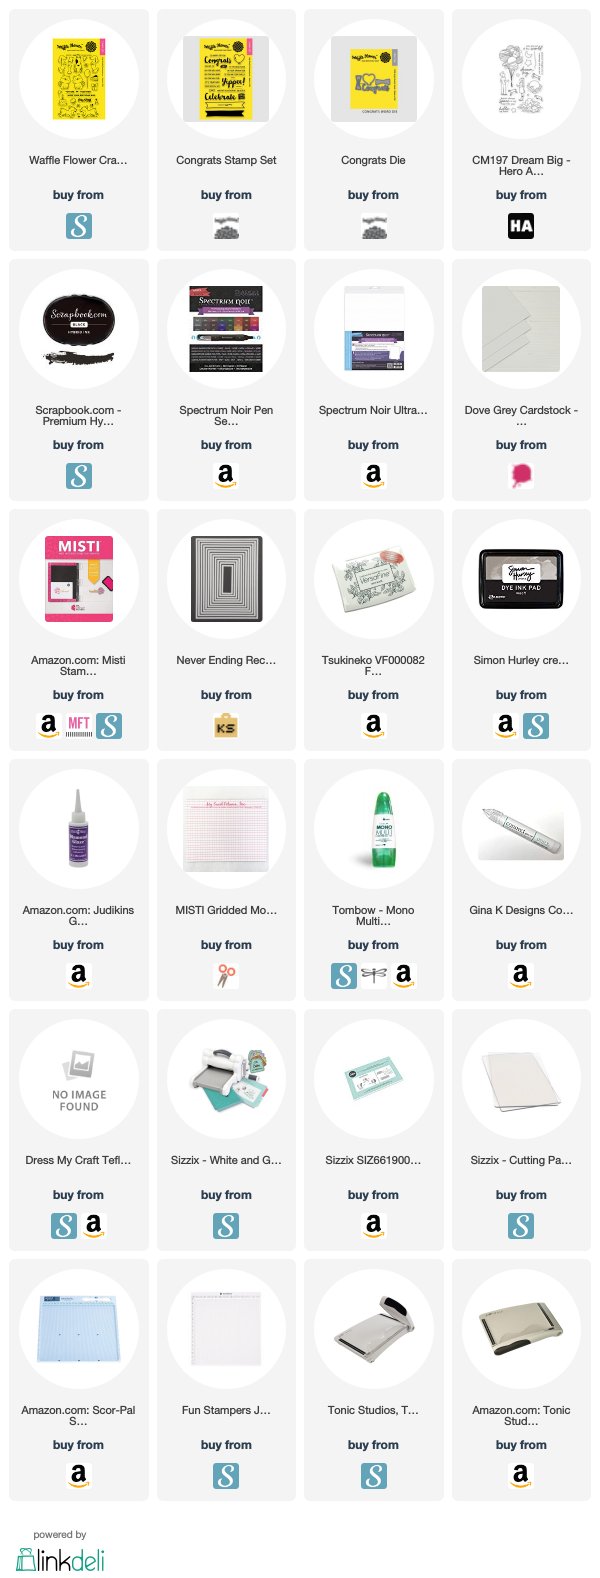
I used a couple of fun stamp sets by Waffle Flower: Pawsome and Congrats, along with the Congrats Word die for the heart shaped balloon.

I started by stamping with Scrapbook.com's Hybrid Black Ink onto Spectrum Noir Ultra Smooth Premium card stock. I knew I was going to color with my Spectrum Noir Alcohol Markers for a change. I thought I'd switch up from using my Zig's Clean Color Real Brush Markers. My original idea was to do a one layer card, but when I colored the balloons, the markers bled through so I ended up layering it onto W Plus 9 Dove Grey Card Stock.
The strings are from a Hero Arts set I have in my stash: Dream Big and the white hearts and glitter dots are again from random items in my stash. The hearts were cut with the coordinating die and several were popped up with foam squares. I covered them with Judi Kins Diamond Glaze to give them dimension and shine.
The inside sentiment is still from the Waffle Flower Congrats stamp set. I thought it would make a nice birthday card for a cat lover.
Thanks for stopping by. If you are an animal lover this is a good set for there are cats and dogs and most have reverse images. There are so many inspirational cards made with this set and I hope I have inspired you, too!
*Some of the links in this post are affiliate links. This means if you click on the link and purchase the item, I will receive a small affiliate commission at no extra cost to you. All opinions remain my own.