Tuesday, March 31, 2020

Altenew Educator Certification Program All About Layering 1

 
Welcome to my first card submittal for the Altenew Educator Certification Program (AECP). I was thrilled to be accepted into the program and have completed my first class. This is the result of watching, practicing, taking notes and experimenting, based on what I learned in the All About Layering class. This is one of the free classes graciously offered by Altenew. 
I was inspired by Nicole as she mentions several times in the classes to keep it simple. I wanted to perfect the technique, with matching points, for my first project.

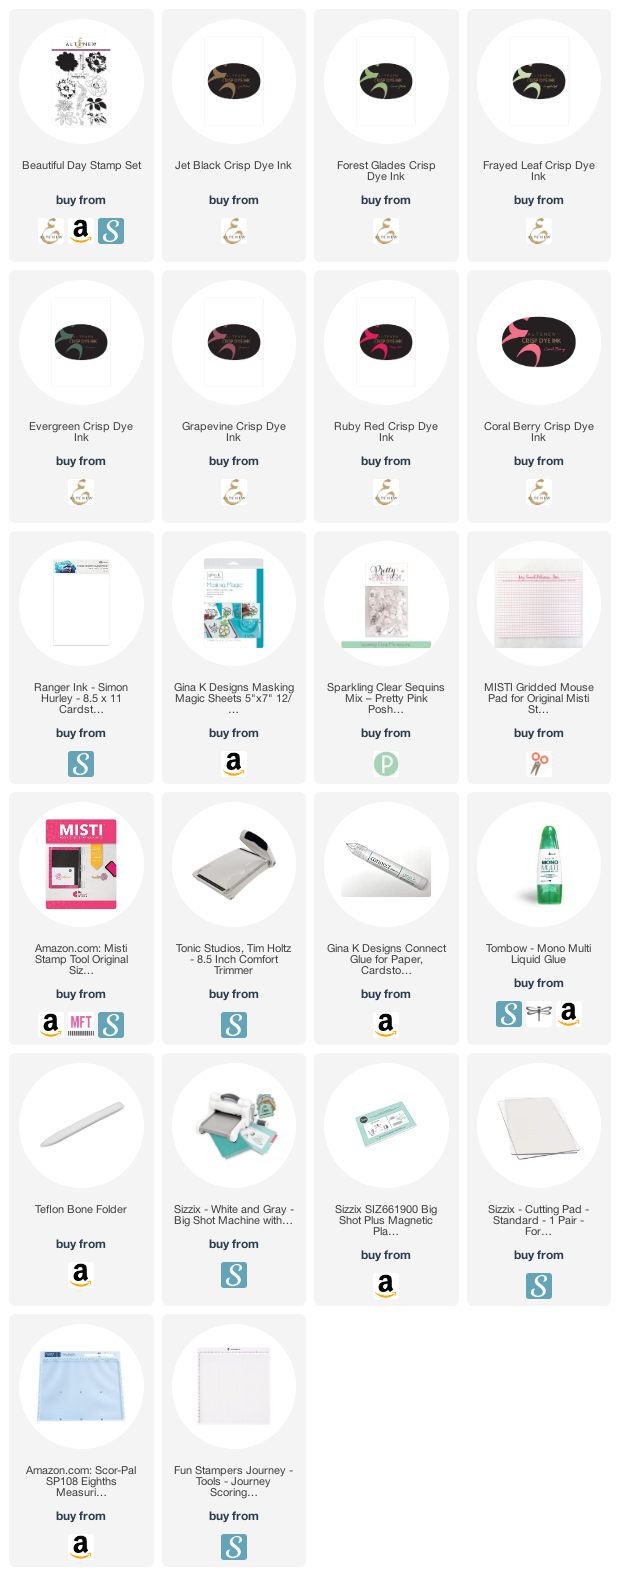
To begin, I spent many hours stamping several different Altenew layering sets (Vintage Flowers and Beautiful Day) and trying all combinations of colors. It is a great reference to have in my Altenew binder. Now when I want to use one of these stamp sets in the future, I can just look at my binder to see various color layering. It is a form of swatching using what I have in my stash.

Since I only have 3 of the Red Cosmos color family, and the layering for the Beautiful Day floral image is a 4 step layer, I decided to do what Nicole taught - use generation stamping. In other words, since I didn't have the lightest color, I stamped the base with Coral Berry once on scrap paper. Then stamped it on my card base without re-inking. This is called the "2nd generation" and gave me the perfect light pink I needed for the base. This can be done up to 4 times, 1st to 4th generation, and is a great way to stretch your inks.
The colors I used for the floral image were (base to line image) Coral Berry (2nd generation), Ruby Red, Grapevine and Evergreen. The leaves are Frayed Leaf for the base, next Forest Glades and finally Evergreen for the line work. The design has coherence by having Evergreen as the line work on all images.
Another technique used for the images was masking. Nicole shows early on several different ways to stamp the leaves with the floral images and I went with masking. Whatever image you want in front should be stamped first and masked before adding the background images. I made 2 masks with Gina K masking paper - stamped the line image twice and fussy cut each separately. So easy then to stamp the leaves so they look like they are coming from the back of the flower. I keep the masks with the stamp set for future use!
The sentiment from the Beautiful Day stamp set was stamped with Altenew Jet Black Ink. The card base is Pale Grey Altenew card stock in an A2 size (4 1/4" X 5 1/2" and the sparkle is with Pretty Pink Posh Sparkling Clear jewels.
Thank you so much for visiting my blog post today and my first class project! It was a wonderful learning experience. Looking forward to the next class!

*Some of the links in this post are affiliate links. This means if you click on the link and purchase the item, I will receive a small affiliate commission at no extra cost to you. All opinions remain my own.
Sunday, March 29, 2020

Wendy Vecchi with Freshly Make Sketches #428


Welcome to Sunday quarantined blog post! Actually I try to post once a week - at least that is my goal. With working from home for the time being, I have a couple of extra hours a day to be productive. Today's post is for Freshly Made Sketches weekly challenge. They have the best sketches to start inspiration working:

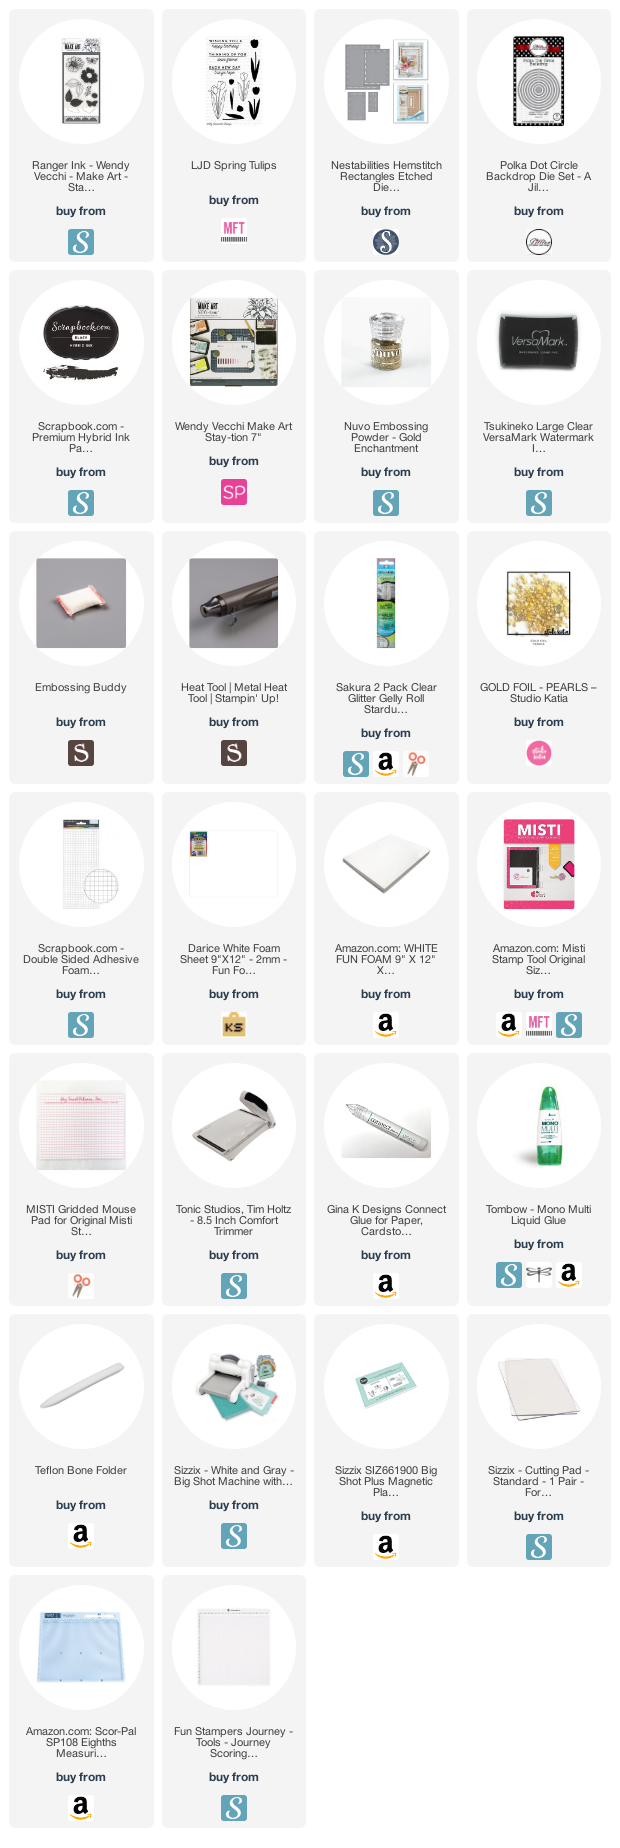
I have had this Wendy Vecchi set for about a month now and have stamped and colored all the images. I almost always start with Scrapbook.com's Black Hybrid Ink for stamping. I am not always sure what medium I am going to use to color and this way I am covered no matter what I choose for it won't bleed.

This set is at a amazing price point.  A little over $14.00 from Scrapbook.com. It is not just a stamp set, but includes a stencil and the matching dies. Just think of all the creative possibilities just with this one set!
I taped off the rows of dots on the stencil so that I could create a gold embossed background. I covered them with Versamark ink, sprinkled with Nuvo Glitter Embossing Gold Enchantment Powder and heat set. I repeated the process about 4 times until I knew it would cover a circle for the background. I used Jillian Vance's Polka Dot Circle Backdrop die to cut the circle.
The rest was pretty simple. I am using some Papertrey Ink White card stock I have had in my stash. It is a really beautiful white color and I used it for the base and the layered piece die cut with Spellbinder's Hemstitch Rectangles. I popped it up with fun foam using Tombow Liquid Adhesive.

The polka dot circle was adhered flat to the cover after slicing a bit off the side. The butterflies were colored by some alcohol markers from my stash (Stampin' Up!'s Stamp 'n Blends) and I traced all the lines with a Stardust Clear Glittering Gelly Roll pen. It leaves such a nice subtle gleam to the image. The sentiment is from My Favorite Thing's LJD Spring Tulips set. I thought for this time in our lives it was perfect. Lastly, a few Studio Katia Gold Foil Pearls finished it off.

Thanks for visiting with me today and my sincere wish for each of you is the "Each New Day brings hope."
*Some of the links in this post are affiliate links. This means if you click on the link and purchase the item, I will receive a small affiliate commission at no extra cost to you. All opinions remain my own.


Wednesday, March 25, 2020

Hero Arts Stay Crafty with CAS(E) Sketch #364

Hi friends! I hope we are all hunkered down in our homes practicing Social Distancing. Knowing this Hero Arts started a challenge for us to create an encouragement card and mail it, too! I combined my card with the CAS(E) this sketch challenge.

My card is Clean and Simple: I cut a simple line of circles from Simon Hurley Smooth White Card using Waffle Flower's Watercolor Swatches Die. It keeps the circles attached in a line.
I wanted to use this Hero Arts stamp set that I have had in my stash for a long time and it is still available! I think it is a classic. I first stamped with Versamark ink the beautiful little flower shown on the bottom left here:
I stamped in one way and switched it around and stamped it the other way to form a line. I used Ranger Super Fine White Embossing Powder and heat set. I have to say, the Simon Hurley card stock did not warp at all and takes ink blending beautifully. 

Next, I simply ink blended 5 different rainbow colors onto the circles with Distress Oxides: Picked Raspberry, Wild Honey, Peacock Feathers, Twisted Citron and Wilted Violet. All favorites. I used my smallest Stamp Market blending brush because I knew I wanted to keep it very soft and blending brushes do just that. I only have one, but you just swipe it on a paper towel in between and then can use the same one for all the colors.

I cut 2 more white circles with one of my Jillian Vance's Polka Dot Circle Backdrop and stamped "thinking of YOU" from the Hero Arts stamp set on one. I glued the 2 together and then on top of the circle strip. One of the little flower from the Hero Arts set was perfect for that white space under "You". A Pink and Main Birthday Girl Glossy Dot in gold was added for a little bling.

For the sentiment in black, I cut the stamp in half for I didn't want the whole sentiment on the front. It doesn't hurt to cut stamps and they easily can be put back together if you want the full sentiment as originally intended. 


The second half of the sentiment was for the inside:

That's it! It takes more time to type the blog then it does to actually make the card! I hope everyone stays safe and gets to craft a little during this unusual time in history. I am working from home for the time being so I have an extra 2+ hours in my day since I only commute to my upstairs!
*Some of the links in this post are affiliate links. This means if you click on the link and purchase the item, I will receive a small affiliate commission at no extra cost to you. All opinions remain my own.

Sunday, March 22, 2020

Waffle Flower March 2020 Challenge

 
Hi all and welcome to my blog post for Waffle Flower Facebook Fan Group Challenge for March 2020:

It is past March 17th, so I was trying to have the cards not look too St. Paddy's Dayish. A few months ago I purchased a $25 Grab Bag from Waffle Flower. I don't usually buy those type of packages, since I like to know what I am to receive, but I took a leap of faith in this case.  I received about 4 stamp/die bundles and was excited to used 2 of them today: In Bloom and Enveloper Hugs. I would definitely buy another Grab Bag when offered. I received much more than $25 worth of wonderful products.
Both cards were inspired by Simon Hurley's recent You Tube showing stamping with acrylic blocks. I have done this technique before, but it was fun to do again. I used an acrylic block in my stash which is 4 1/2" X 1 1/2". This way it fits perfectly across the width of an A2 panel.
Just ink up the block, just as you would a stamp, spritz with water and place on a piece of watercolor paper. I used Ranger's Watercolor Paper since it is a nice bright white. I did the block stamping 3 separate layers with Distress Inks: Cracked Pistachio, Twisted Citron and Mowed Lawn. I liked the look, but felt it needed more. Here is where I pulled out stencils (Taylored Expressions' Double Diamond and Simon Hurley's The Loo!) and using my Wendy Vecchi Make Art Station, ink blended the same colors over the top. Much better. I like the white spaces and splatter that stamping with a block gives.
Both cards were stamped with Versafine Black Ink with my MISTI. The sentiments were quickly sprinkled with Nuvo Detail Crystal Clear powder and heat set. Gives a nice shine.
This cover card, using the In Bloom set, will be my graduation card for my amazing grand-daughter receiving a dual Masters Degree. It was supposed to be May, but of course, the coronavirus has circumvented that! But, she'll still get a card. Luckily her school colors are green, too.
My second card was a square card and I used my Kat Scrappiness Embossed Edge Square die. It leaves such a nice clean embossed border.
The sentiments are all from the Rainbow Bridge and Congrats stamp sets. Nicce to mix and match all your sets to get the most use of them.
The final touches were Wink of Stella on the images and Studio Katia's Icy Sparkle Crystals for some bling.

Thank you friends for sticking to the end. I hope you are all staying safe in your homes and finding joy in creating!

*Some of the links in this post are affiliate links. This means if you click on the link and purchase the item, I will receive a small affiliate commission at no extra cost to you. All opinions remain my own.

Saturday, March 21, 2020

#TEMaker Challenge Mar 2020 Cupcakes

Hi friends. Hope you are safe and snug at your homes. Perhaps crafting a bit more than usual?! I have a quick card for the month's Taylored Expressions' Maker Challenge for March using 2/3 - Clean and Simple and White.
This is simple card starting with Taylored Expressions' Peek-A-Boo Circles die. It cuts nice clean 3 even circles with stitch lines around each.
I colored and cut 3 cupcakes using Taylored Expressions' Big Grumpy Birthday stamp and coordinating dies. I stamped with Scrapbook.com's Black Hybrid Ink and colored with my alcohol markers from my stash (Stampin' Up!). The background behind the circles is a simple ink blending with Simon Hurley's Overzealous and Scrapbook.com's foam blending tool.

I thought I'd show these stamp sets nice & large so you can see the fun, punny sentiments close up:


The inside is from My Favorite Things Sweet BD Wishes. I thought it went well with the front card sentiment.

That's it for today! Clean and Simple and White. All my favorites!

Hope you are all safe inside and not venturing out too often. Perfect time to clean, organize and create! Love to all!

*Some of the links in this post are affiliate links. This means if you click on the link and purchase the item, I will receive a small affiliate commission at no extra cost to you. All opinions remain my own.

Wednesday, March 18, 2020

The Card Concept 131 with Trinity Stamps

 
Hello friends and welcome to the 2nd Card Concept Challenge for March 2020. The challenge picture had so many images and colors for inspiration:
I went with a Clean and Layered Style:

Definition:
  • clean lines
  • lots of layers
  • designer papers/embossing
  • embellishments/accents
  • clean and fresh looking
  • some colored images at times
  • white space

I really had fun with this one! I started with a quarter sheet of Vicki Boutin's All the Good Things Foundation Media paper by American Crafts. It works well for ink blending. I used Scrapbook.com's Ink Blending Tool and all Simon Hurley inks (shown below). Simon's inks blend well and work well with water techniques, too, such as splatter.
The four little critters from Trinity Stamps' Autumn Forest Friends were stamped onto Neenah Classic Crest 100 lb. card stock. I like a nice sturdy paper knowing that they will be die cut. I used Scrapbook.com's Black Hybrid ink because I wasn't sure what media I was going to use to color them and this ink works well for everything. Next, they were colored with alcohol markers (Stampin' Up! Blends from my stash) and die cut with Trinity Stamps' coordinating dies.
The camping and outdoor images are from Pretty Pink Posh's Camping Friends. I have had this in my stash for a long time and finally got to use it! My husband and I own an RV and love to camp, so I had to keep this set!
The card base and the window die cut (My Favorite Things Gift Box Cover Up) were also cut from the 100 lb. Neenah white. The window was adhered with liquid glue and then some of the images are popped up with Scrapbook.com's  Double Sided Adhesive Foam squares and some glued flat to the card base. I like the foam squares from Scrapbook.com because they are not too thick, yet give the extra dimension needed.
The inside is a simple wagon image from the same Trinity Stamps set and the wooden sign is from Pretty Pink Posh's Camping Friends set.

I hope you enjoyed my card, my card making process and have a chance to play along with us for this challenge. Looking forward to seeing your work!

*Some of the links in this post are affiliate links. This means if you click on the link and purchase the item, I will receive a small affiliate commission at no extra cost to you. All opinions remain my own.