Welcome to my first card submittal for the Altenew Educator Certification Program (AECP). I was thrilled to be accepted into the program and have completed my first class. This is the result of watching, practicing, taking notes and experimenting, based on what I learned in the All About Layering class. This is one of the free classes graciously offered by Altenew.
I was inspired by Nicole as she mentions several times in the classes to keep it simple. I wanted to perfect the technique, with matching points, for my first project.
To begin, I spent many hours stamping several different Altenew layering sets (Vintage Flowers and Beautiful Day) and trying all combinations of colors. It is a great reference to have in my Altenew binder. Now when I want to use one of these stamp sets in the future, I can just look at my binder to see various color layering. It is a form of swatching using what I have in my stash.
Since I only have 3 of the Red Cosmos color family, and the layering for the Beautiful Day floral image is a 4 step layer, I decided to do what Nicole taught - use generation stamping. In other words, since I didn't have the lightest color, I stamped the base with Coral Berry once on scrap paper. Then stamped it on my card base without re-inking. This is called the "2nd generation" and gave me the perfect light pink I needed for the base. This can be done up to 4 times, 1st to 4th generation, and is a great way to stretch your inks.
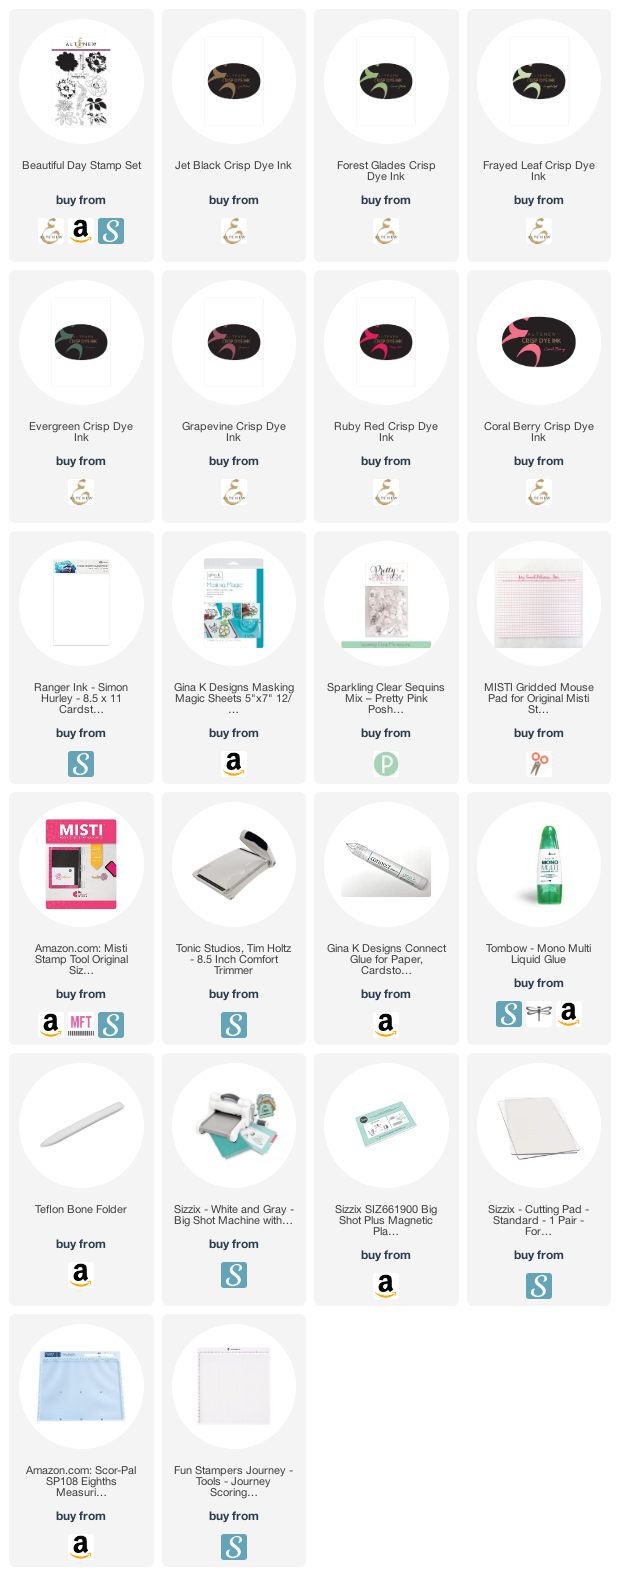
The colors I used for the floral image were (base to line image) Coral Berry (2nd generation), Ruby Red, Grapevine and Evergreen. The leaves are Frayed Leaf for the base, next Forest Glades and finally Evergreen for the line work. The design has coherence by having Evergreen as the line work on all images.
Another technique used for the images was masking. Nicole shows early on several different ways to stamp the leaves with the floral images and I went with masking. Whatever image you want in front should be stamped first and masked before adding the background images. I made 2 masks with Gina K masking paper - stamped the line image twice and fussy cut each separately. So easy then to stamp the leaves so they look like they are coming from the back of the flower. I keep the masks with the stamp set for future use!
The sentiment from the Beautiful Day stamp set was stamped with Altenew Jet Black Ink. The card base is Pale Grey Altenew card stock in an A2 size (4 1/4" X 5 1/2" and the sparkle is with Pretty Pink Posh Sparkling Clear jewels.
Thank you so much for visiting my blog post today and my first class project! It was a wonderful learning experience. Looking forward to the next class!
*Some of the links in this post are affiliate links. This means if you click on the link and purchase the item, I will receive a small affiliate commission at no extra cost to you. All opinions remain my own.


What a gorgeous card, Anita! Such nicely explained process too. Love it!
ReplyDeleteThank you for entering your fabulous work to the AECP assignment gallery.
Thank you, Erum! So much fun to learn and experiment with awesome products!
ReplyDelete