Wednesday, April 29, 2020

The Card Concept #134 Mother's Day with Impression Obsession

  
Welcome to the April 29, 2020 challenge for The Card Concept: Mother's Day!
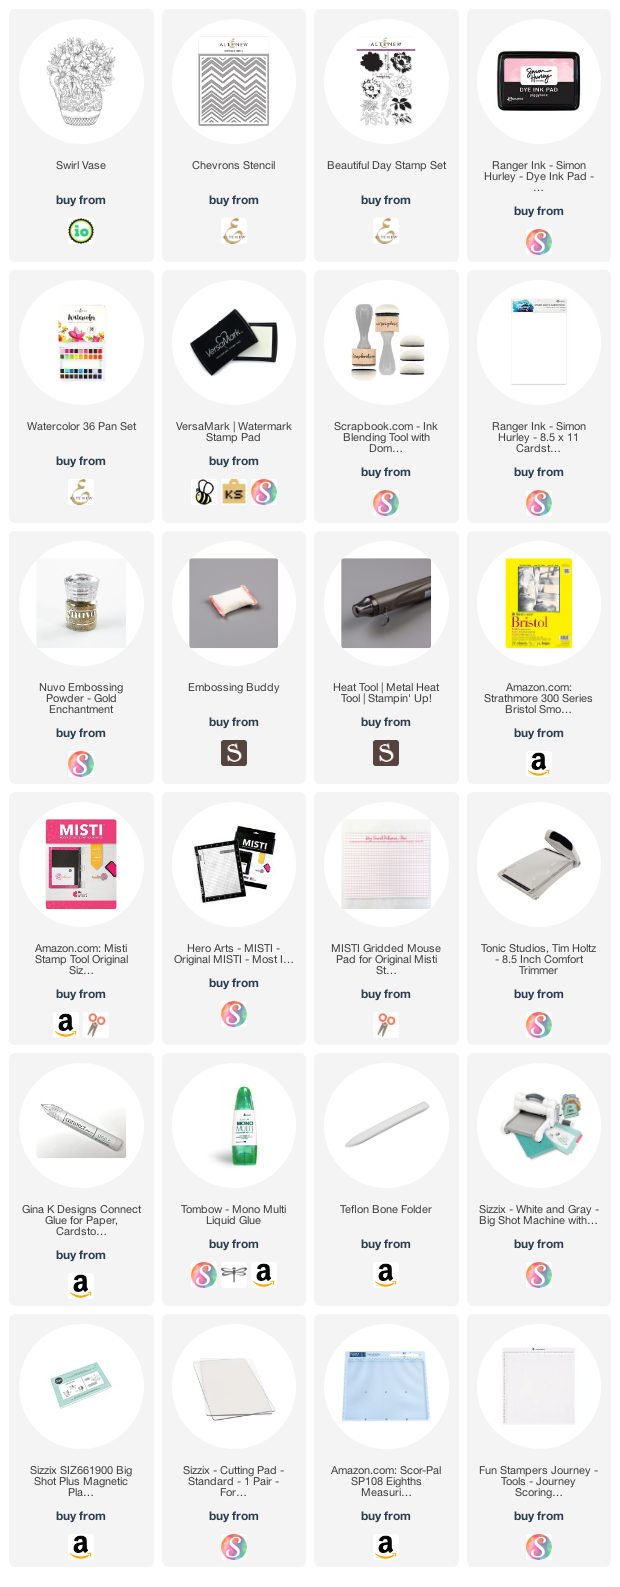
So much inspiration from this photo, the soft colors, the glitz and the flowers inspired my card using this beautiful Swirl Vase stamp from Impression Obsession:
I am going to say my style is defined as Classy & Elegant based on The Card Concept Styles Defined list:

Definition:
  • polished
  • shiny finish
  • sparkling embellishments
  • rich color scheme
  • sophisticated sentiments
  • regal
  • sweeping
  • dramatic
  • monochromatic
  • layered textures
  • awe
  • impress

The pretty pink background of the card was done with Altenew's Chevrons stencil and Simon Hurley paper and Piggyback Ink. I blended with Scrapbook.com's foam ink blending tool one way and then flipped the stencil and ink blended the opposite way for a plaid look.
The image was stamped with Versamark and sprinkled with Nuvo Glitter Gold Enchantment embossing powder. It has such an amazing sparkle! I wish I could capture it better in the photos. I water colored with Altenew's 36 pan set and the sentiment is from Altenew's Beautiful Day stamp set.
A touch of gold paper, gold embellishments and gold embossing powder, can't go wrong...with gold. I should mention that the small gold embellishments are actually for finger nails! Great for they are all different sizes, hopefully they don't lose their sparkle.

Thank you visiting today and I hope you are safe and social-distancing...be well, my friends.
*Some of the links in this post are affiliate links. This means if you click on the link and purchase the item, I will receive a small affiliate commission at no extra cost to you. All opinions remain my own.

Tuesday, April 28, 2020

AECP#5 For the Guys with Sohcahtoa

 
Hi friends and welcome to my blog for the AECP class "For The Guys":
These classes are open to everyone for a small cost and are always available online, if you want to go back and refresh. I watch all the classes at least twice, for I pick up tidbits that I missed the first time. I keep a notebook and take notes as I watch, so I can easily go back and remind myself of the class.
I have had this Altenew cool stamp set, Sohcahtoa, in my stash for quite a while and never really used it. I was so excited to take it out, practice, and work up a couple of manly cards. 
Jen Rzasa taught to draw a light pencil line with a ruler to give yourself a straight base. I practiced with various size stamps, various colors, some solid, some just outline...you can see I eventually learned how to stamp properly. Lots of fun...worked on it while watching TV with hubby.
I went with a clean and simple design and colors which I thought would appeal to a guy - gray, green and blue. I lined each side with a small strip of black card stock and just popped the piece on fun foam with liquid glue. I used the "Hello" die from the Bold Greetings die set and cut it 3X from black card stock. I layered the pieces with liquid glue to make a nice chipboard-like piece. A few black embellishments finished it off.
My second card had the same sort of design, but instead of just one stamp per color, I stamped 3 triangles in each block with the same color. I cut the finished piece at an angle and added the "hello" from the Hello and Hugs dies. The background of the "hello" is cut from a piece from the Essential Rock Collection, then a piece of white, then Lush Lagoon from My Favorite Things.
Thank you for visiting today. Jen taught so many tips and tricks in these 6 classes I believe I will combine them in the future with other cards. Altenew products are of the highest quality and such creative designs!

*Some of the links in this post are affiliate links. This means if you click on the link and purchase the item, I will receive a small affiliate commission at no extra cost to you. All opinions remain my own.

Saturday, April 25, 2020

Sugar Pea Designs Mix It Up Challenge April 2020

 
Hello friends and welcome! Today I am featuring my card for the SugarPea Designs Mix It Up Challenge April 2020:
For this challenge you can use the image, the colors, the sketch or any combination. Mix it up! SugarPea Designs also has 25% off everything sale going on until April 30th:
I went with the colors and the diagonal sketch for my card using Elephant Parade and coordinating dies. The images and fonts in this set are so darling, I couldn't resist! Mice, cheese, rabbits, elephants, peanuts, cake...and so much more.
The dies cut out all the images perfectly, even the itty bitty peanut:
I stamped and colored all the images several times with colored pencils. For a scene card, I like to cut out the images and play around for the most pleasing scene. The background is ink blended with Distress Oxides Inks (shown below) on Bristol Smooth and splattered with water. I was trying to achieve a diagonal look. I used Waffle Flowers Patched Layers to embossed a cool stitched edge around the border.
The sentiment was stamped once I had my design in mind. Then the center panel was popped up with fun foam and glued down with liquid adhesive. Next, I popped up most of the images: our heavy elephant is stepping on the teeter-totter and our rabbit is flying in the air to catch the peanut! How fun!
 I really like the Happy Birthday font and layout for this simple inside sentiment.
Thank you for sticking to the end. If you get a chance, check out SugarPea Designs! They are so cute and stamp and cut just perfectly! Stay home, stay safe and be well.
*Some of the links in this post are affiliate links. This means if you click on the link and purchase the item, I will receive a small affiliate commission at no extra cost to you. All opinions remain my own.

Taylored Expressions April 2020 Challenge

Hi friends and welcome to my post for Taylored Expression's Maker challenge for April 2020: Embossing, Stripes and Orange!
I wanted to use these cute owls I have in my stash for a while. They are Taylored Expressions' Hoot Hoot Hooray stamp and die set. In fact when I went to link them up I found they are discontinued. Although, they can be found in several shops on the internet.

Really simple to make when you use Taylored Expressions Oval Masking Stencils and Wendy Vecchi's Make Art Station. Simple ink blending, using my Scrapbook.com's foam ink blending tools and TE mini ink cubes: Candy Corn and Potato Chip! Once dry, I ran it through Taylored Expressions Bead Board Embossing Folder which gave me the required stripes.
The owls themselves were stamped on Bristol Smooth paper with Simon Hurley's Grrr! ink and quickly sprinkled with Nuvo Crystal Clear Detailed Embossing Powder and heat set. The sentiment was done the same way. I used all kinds of media to color them - pencils, alcohol markers, zigs...just wanted them to look a certain way and used whatever I had to achieve it!
The inside sentiment is from this snarky set from Taylored Expressions called: Another Year Older. All fun sentiments...who doesn't love a laugh?
Well, that's it! Short and Sweet. I thought this would be a perfect Mother's/Father's Day card with the baby owl looking so lovingly at the Momma/Daddy owl.

Thanks for sticking to the end and be safe and well!

*Some of the links in this post are affiliate links. This means if you click on the link and purchase the item, I will receive a small affiliate commission at no extra cost to you. All opinions remain my own.

Friday, April 24, 2020

AECP #4 Simple Ink Blending with Altenew

 
Hi friends! Thank you for visiting my blog and sticking with me on my journey in the Altenew Educator Certification Program. This lesson was taught by Amy Lee and covered 6 classes on Easy Ink Blending.
Amy suggested that we swatch our Altenew inks and I made a good start , although I do have more to do. I plan to put each 2" X 2" swatch onto a tag and will stamp the same color above the ink blended swatch. It will be a wonderful tool to use when creating.
This technique Amy taught in her 3rd class: using sponge daubers to add interest on the background of a card. To begin, I used an A2 size piece of Bristol Smooth card stock. Using my MISTI stamp positioner, I set up the scene with images from the Gradient Sunset stamp set and stamped it several times with Altenew's Jet Black Dye Ink.  Dye inks stay wet so just a bit, so that you can quickly sprinkle embossing powder over it. I used Nuvo Crystal Clear Detail Embossing Powder, heat set, and then the black stamping had a beautifully shiny finish.

Note: you could ink blend first and then do the stamping and heat embossing. Just be sure your ink blended card is totally dry. Otherwise the embossing powder will stick all over the card. Ask me how I know!

I let dry a few minutes. Then was able to ink blend over the images (using Scrapbook.com's foam ink blending tools) 3 Altenew dye ink colors: Turquoise, Fresh Lemon and Fresh leaf. This is where the technique comes in: using 3 different foam daubers and the same ink colors I daubed in a circular motion in various areas. Gives a nice subtle background.
My daughter had asked me to make a retirement card for her friend and I thought, this is a perfect card for it. The stamp set from Altenew had all the images and sentiments. 


Her friend loves to sew, so I used a Cross Stitch Rectangle die by Kat Scrappiness for the border. A nice smooth layer of fun foam behind the central image gives it just enough dimension and keeps the card in good shape while going through the mail.
There were so many fun techniques in Amy's class, if you have an opportunity and want to learn, give it a try. I have been stamping and ink blending for many years, but I learned several new techniques! There is always room to grow.

Be well, stay safe, friends.

*Some of the links in this post are affiliate links. This means if you click on the link and purchase the item, I will receive a small affiliate commission at no extra cost to you. All opinions remain my own.

Saturday, April 18, 2020

Altenew - AECP Clean and Simple Boutique Cards #3

Hi friends and welcome. Just a quick post to show the third set of cards I created after watching Altenew's Clean & Simple Boutique Cards class in Altenew Academy.  The idea of this section of the class was to create  your own background paper with repetitive stamping and watercolor.

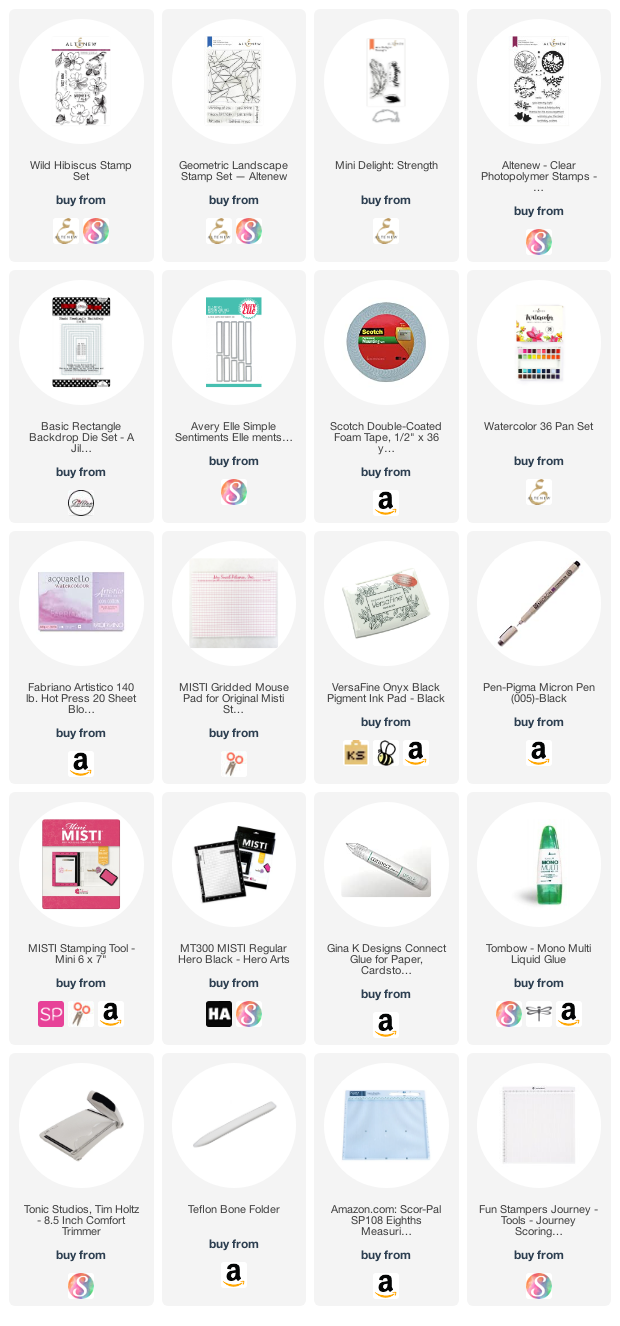
I went through all my Altenew stamps set and used open images which I thought would work well for this technique. I stamped on Fabriano 140 lb. hot press watercolor paper using Versafine Onyx Black Ink. It is a good smooth watercolor paper which works well with stamping. 
I used my Altenew 36 pan watercolor set. I did do a wet on wet technique - this keeps the color limited to just where you want it and also allows for a good blend. I started with 8 Fabriano pieces stamped to paint, but was only happy with 6 of them when I finished. Wasn't happy with the colors I choose. It's always a fun learning process! 
I splattered all of the pieces with water-down watercolor black paint in the set. They were all finished with a simple sentiment stamped in black on colored card stock that matched the card background color.
Classes are a great way to start your mojo if it has disappeared. There are so many wonderful Altenew classes at such a reasonable price. Many, many techniques to learn and keep us creating!

Thanks for sticking to the end. I hope you are safe and well at this time of COVID-19. I thank goodness for my love of creating - I don't have any problem staying home.
*Some of the links in this post are affiliate links. This means if you click on the link and purchase the item, I will receive a small affiliate commission at no extra cost to you. All opinions remain my own.