Friday, April 3, 2020
Hi friends and welcome to my 2nd post as a participant of the Altenew Education Certification Program:
The challenge was to create a card based on what I learn in Altenew Academy's All About Layering 2, another free class offered by Altenew. Just click on the link and you can buy it ($0.00) and watch it right away.
I wanted to use my Vintage Flowers stamp and die set that I have had for a while. When I saw the Freshly Made Sketches picture it was like the light bulb went off!
If you look closely in the picture above you can see an outline around a group of stamps. These are the stamps that go together to create layers. I have taught 2-3-4 step stamping in the past and it makes some students anxious. If you break it down into groups, it is reasonable and easy doable. Look at the leaf image on the left. There are 3 stamps. Stamp the solid one first in a light ink. Then the next partial stamp in a bit darker ink and finally the the 3rd image with the darkest ink. What a fun quick way to ink an image!
Nicole showed many different stamps set and how to stamp their layers. In this 2nd class, she taught that stamping the outline image first works well for larger stamps. It is helpful to know that we can stamp from the bottom image up or the top image down perfectly.
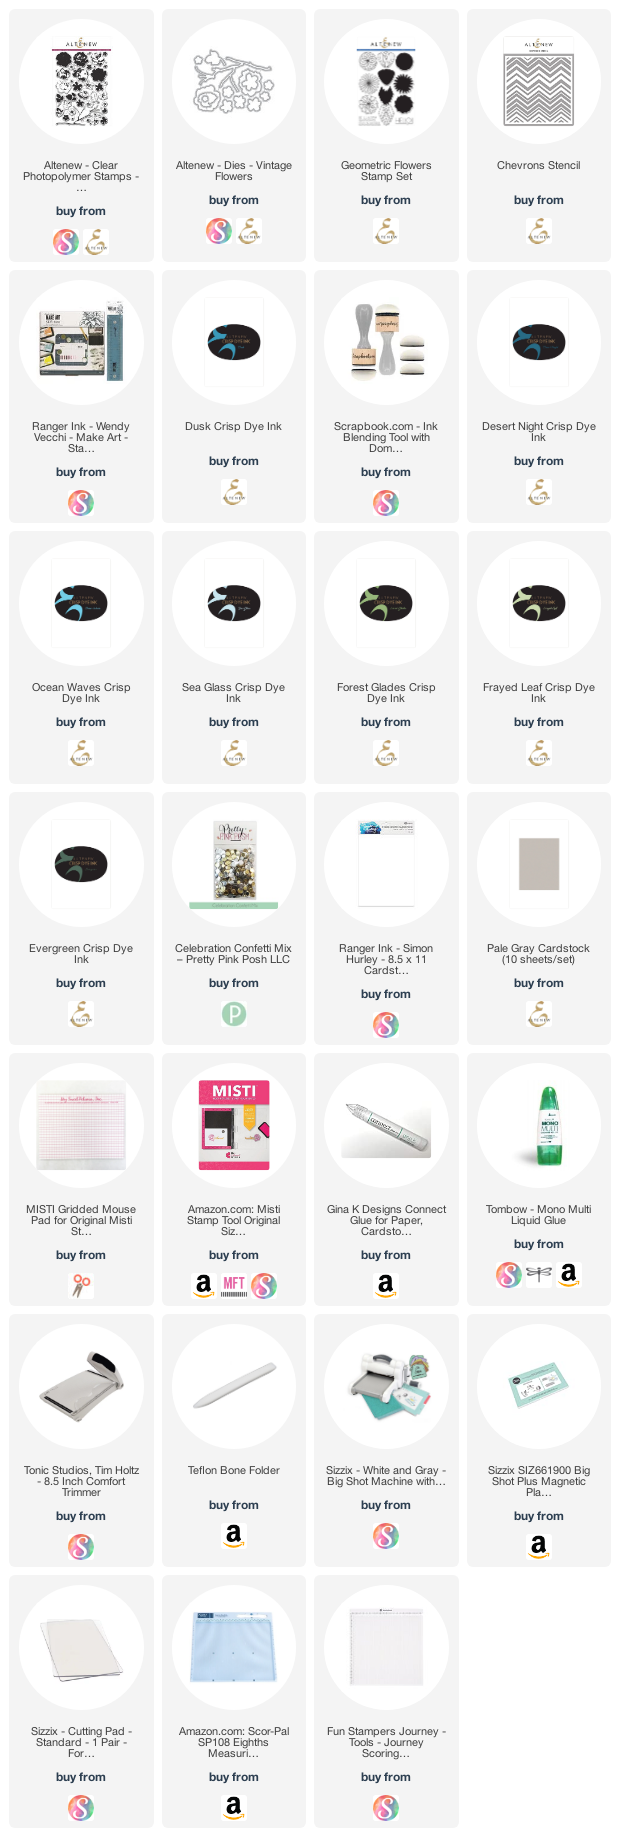
I used Altenew's Chevron Stencil with Wendy Vecchi's Mark Art Station to ink blend a design on the right third of a basic white card stock. I used Ocean Waves ink and Scrapbook.com's foam blending tool, very gently, for the stencils are a bit delicate.
I used the following inks for the flowers: Sea Glass, Ocean Waves, Dusk and Desert Night and Frayed Leaf, Forest Glades, and Evergreen for the leaves.
The sentiment from the Geometric Flowers stamp set has such a clean graphic font. I stamped it with Dusk ink.
A slim piece of silver card stock was glued down to help separate the right from left side. The top and bottom flowers were glued flat, the center flower is popped up with foam dots. Lastly, I used a few silver embellishments from Pretty Pink Posh's Celebration Confetti Mix.
I hope you've enjoyed this card and would consider giving layering stamping a try if you haven't in the past. It produces beautiful images!
StampinwithAnita
Hello, welcome to Stampin With Anita. I love crafting in all forms. It gives me great joy to create something special. I hope you enjoy your visit.
you may also like
Subscribe to:
Post Comments (Atom)
Categories
#simplestamping
(4)
abstract
(2)
alcohol markers
(11)
Anniversary
(3)
baby
(6)
Back on Your Feet
(3)
balloons
(10)
Beach
(10)
Believe You Can
(3)
Birds of a Feather
(2)
Birthday
(26)
birthday card
(22)
Black & White
(5)
blog hop
(2)
Bokeh
(2)
Buffalo Check
(2)
butterflies
(13)
Butterfly Gala
(2)
Cake
(3)
card challenge
(15)
CAS
(34)
CAS Christmas
(12)
CAS Stencil
(4)
CAS Watercolor
(14)
Christmas
(19)
CI#48
(2)
clean and simple
(3)
Color Throwdown
(15)
Colour Inkspiration. ink blending
(3)
Crafting Forever
(2)
deer
(3)
Disney
(1)
dog
(8)
DSP
(2)
embossing
(10)
Embossing Folder
(14)
Embossing Paste
(7)
Encouragement
(10)
Father's Day
(7)
featured
(2)
Flowers
(10)
Free As A Bird
(3)
Freezer Paper
(2)
Freshly Made Sketches 366
(2)
Get Well
(4)
Guest Designer
(6)
Halloween
(8)
Ink Blending
(120)
Ink Smooshing
(3)
International Highlights
(1)
Kylie
(2)
kylie bertucci
(5)
Kylie's International Blog
(2)
Lace
(3)
large alphabet
(2)
Laura Bassen
(1)
Lots of Cheer
(2)
Lovely as a Tree
(2)
masculine
(11)
masculine card
(6)
masking
(9)
Mother's Day
(2)
NC demos
(2)
New home
(3)
Notes of Kindness
(2)
Ornament
(1)
Pigment Sprinkles
(6)
rainbow
(5)
Repeat Stamping
(2)
Reverse Technique
(2)
Rooster
(1)
Rose
(3)
Shaker card
(2)
shaving cream
(4)
Sheet Music
(4)
sketch challenge
(7)
small stamps
(2)
Snowflakes
(2)
SSC197
(2)
Stamp 'n Blends
(2)
Stampin' Blends
(5)
Stampin' Up!
(5)
stars
(4)
Stencil
(31)
step technique
(1)
Sweet Friend
(3)
Swirly Bird
(2)
sympathy
(10)
tea
(5)
Thank you
(17)
Thanksgiving
(6)
Top Ten
(2)
Treat Holder
(1)
typewriter
(2)
Valentines Day
(1)
Watercolor
(169)
Watercoloring
(31)
Wedding
(6)
Winners
(2)
Popular Posts
-
Hello Friends and Happy Thanksgiving! I have been graciously invited by Scrapbook.com to take part in their inspiring Handmad...
-
Welcome to my blog post for Kylie Bertucci's March Hop. No theme, just use current Stampin' Up! products. I reached for ...
-
Hi all! Welcome to Kylie Bertucci's training group blog hop for January 2019. We are a group of Stampin' Up! demonstrators worki...
-
Hello CAS friends and welcome to my Guest Designer post for CAS Christmas October 2020: Christmas Birds ! I won the CAS Christmas Challe...
-
Welcome to June 2019 Blog Hop for Kylie Bertucci's Demonstrator Training Team. No theme, just use current Stampin' Up! produc...
-
Welcome to the Training Blog Hop for February 2019! We are all Stampin' Up! Demonstrators from all over the world working wit...
Welcome
I am a wife of 48 years married to my best friend, Mike. He has always been my biggest supporter. We have 3 beautiful daughters and 2 wonderful grandchildren. Also, I am a college graduate, still working full time, and trying to squeeze in every crafting moment possible. Working with my hands, whether it is papercrafting, stamping, painting, cross-stitching, zentangling or quilting - brings joy to my life. I love color in all its various forms.
Connect With Me
[facebook][https://www.facebook.com/stampinwithanita/]
[envelope][https://stampinwithanita.blogspot.com/p/contact.html]
[pinterest][https://www.pinterest.com.au/neetspainting/]
Subscribe to stay updated!
Sign up with your email address to receive the latest updates straight in your inbox.
Love it! Love the stenciling too, adds so much to the card. Lovely colours.
ReplyDeleteThank you for entering your work to the AECP assignment gallery.
Thank you, Erum! I appreciate your comments.
ReplyDelete