Saturday, May 30, 2020

Color Throwdown #595 for Bridesmaid-Groomsman Card

 
Can you believe it is the end of May? With being quarantined every day the days simply blur together. I was on vacation this week and spent some time working on cards for the Bridal Revival Boutique at the Cotton Company in Wake Forest, NC. A couple of the themes were: Will You Be My Bridesmaid? Groomsman?
I thought I'd play along with the Color Throwdown challenge for this week, too! Black, White and Turquoise. This is a "Will You Be My Bridesmaid?" card:
I got to use my new Spellbinders die set designed by Nicole Spohr, called Wedding Dress & Tux. Nicole saw a need in the market for wedding theme dies and she was so right! Since I have been making cards for the Bridal Revival I realized how few stamps/dies there are for Bridal Shower, Bridesmaid, Maid of Honor and Groomsmen. I had some blue sparkle card stock in my stash that I used with silver mirror paper for the trim. The bow is from Mr. & Mrs. Wedding Cake set also designed by Nicole. Nicole has very helpful You-Tube videos showing how to put these sets together.

This Bride-To-Be Altenew stamp set was used many, many times for these cards. I've cut them apart for different sayings, but they still go back together and stamp just fine. It is one of the few stamps I have found for the theme.

I made a "Will You Be My Groomsman? card with this same set, too.
Both cards had a watercolored background in blue. For the Bridesmaid, a light blue color was used just so there was a backdrop to the pretty dress. For the masculine card I used Ken Oliver Color Burst, Ultramarine Blue.
The stamp set I used for the Groomsman card is by The Ink Road Stamps called Suit Up. I have had it in my stash and in trying to link it up for you, I found it at Simon Says Stamp (I am not affiliated).

Anyway all simple die cutting and heat embossing sentiments.

Thanks for visiting today. I hope you are each staying safe and maybe getting caught up on some projects!

*Some of the links in this post are affiliate links. This means if you click on the link and purchase the item, I will receive a small affiliate commission at no extra cost to you. All opinions remain my own.

Wednesday, May 27, 2020

The Card Concept 136 with Hero Arts-Gina K

 
It has been a busy month of May 2020 here is North Carolina! Being home 24/7 and working from home has become the standard here. I wanted to make an encouragement type card for this challenge for those are the cards I reach for most often.
The Card Concept Challenge #136 is this beautiful floral picture with so much inspiration. The colors, the wall design, the vases, the flowers? So many choices. I went with the Classy & Elegant style: rich color scheme, sparkling embellishments, sweeping & dramatic.
I used the collaborative stamp set by Hero Arts & Gina K called Friendship Blooms:
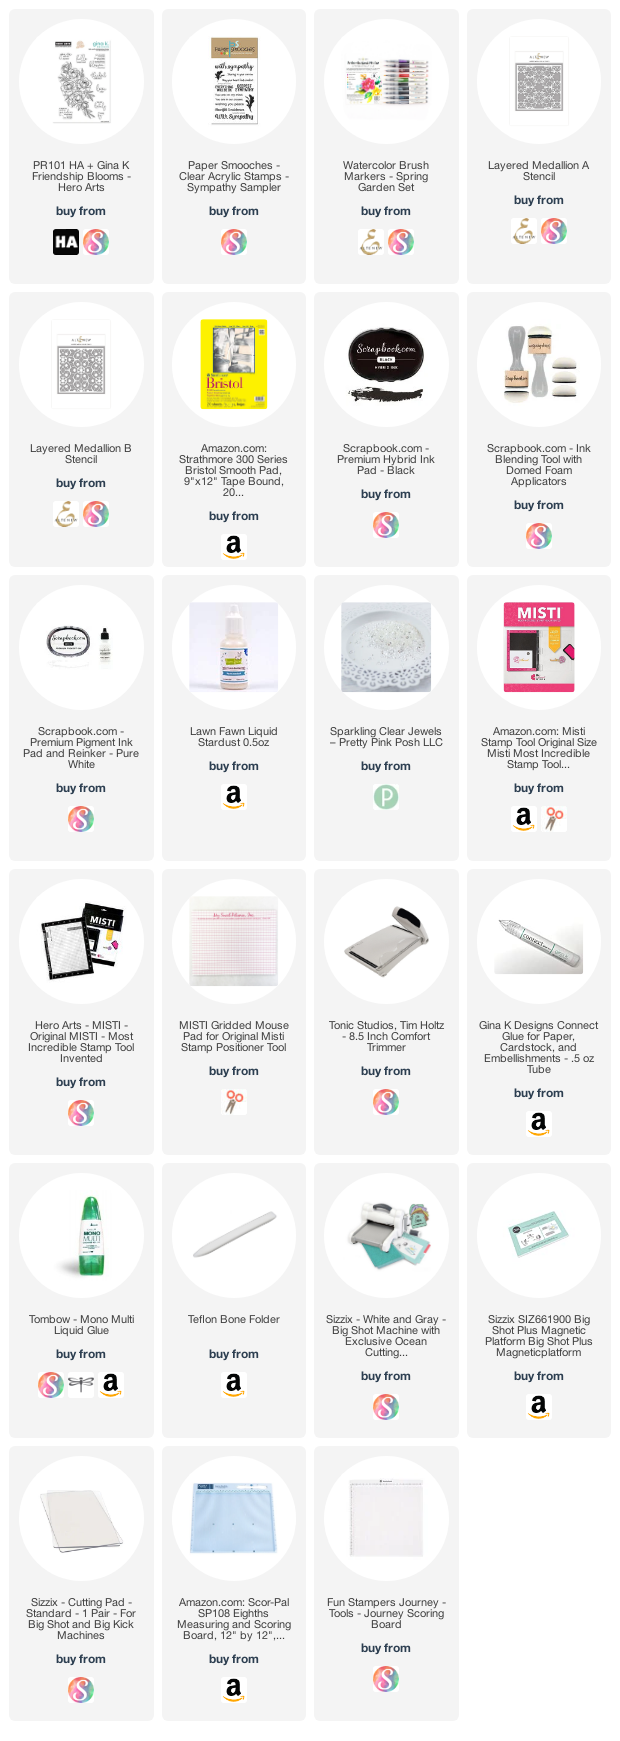
I stamped the image onto Bristol Smooth card stock with Scrapbook.com's Black Hybrid ink since I knew I would be water coloring. I used Altenew's watercolor Brush Markers - the Spring Garden set. It was the first time I used them and the color came out pretty fast, but overall I was able to control it once I got the hang of it.
To create the blue background, I used Sea Breeze from the Spring Garden set in a sketchy manner and roughly water colored the top half of the card. Next, I placed Altenew's Layered Medallion Stencils A & B over the card and bounced Scrapbook.com's white pigment ink through it. It gave a sort of dreamy background which was exactly what I wanted.
I splattered watered down Liquid Stardust from Lawn Fawn all over the card front and added some Pretty Pink Posh Sparkling Clear embellishments.  The sentiment is from Paper Smooches Sympathy Sampler. Unfortunately, I have used the set quite a bit.
Well that's it! This was a collaborative card for me too: Hero Arts, Gina K., Altenew, Paper Smooches, Lawn Fawn and Pretty Pink Posh...all wonderful companies.

I hope you are staying safe and have an opportunity for lots of card making. Give this challenge a try...it's fun, I promise!

*Some of the links in this post are affiliate links. This means if you click on the link and purchase the item, I will receive a small affiliate commission at no extra cost to you. All opinions remain my own.

Monday, May 25, 2020

Not 2 Shabby Rottie in a Cup Coffee Lovers Hop

 
One last post for the Coffee Lovers Hop using Not 2 Shabby's Pup in a Cup, but I am calling this a Rottie in a Cup!
Here is Caesar, my daughter's 6 year old Rottweiler. Such a sweet boy for the most part. Loves to sunbath!
My card is the third card using Jamie's stamp and I had to give coloring the image as a Rottie a try! Rottweiler's have such distinctive markings - the eyebrows, muzzle, ears, feet all golden brown against black fur.


My coloring (using Altenew's Artist Markers) of the pup may be a little on the orange side, but I think he looks like Caesar, as a pup. His full name is Caesar Salad. My daughter was trained as a chef at the Culinary Institute of America in Poughkeepsie, NY and has always named her dogs after a food or drink!
But back to the card...The background is a fun stencil from Tim Holtz that looks like wine or coffee splattered everywhere called "Splatters" (how appropriate!). I used several Altenew Crisp Dye Inks to achieve that coffee look by ink blending using my Wendy Vecchi Make Art Station to hold it securely. No need for Pixie Glue or any adhesive, just the great magnets that come with the Station.
The center of the cup is a cut out from a Darice embossing folder that I have in my stash that looks corrugated. I used Neenah Desert Storm paper for the kraft cup look. I created the corrugated panel, stamped just the center image onto it and fussy cut. I next glued it to the cup and fussy cut the entire image. The card base is also Neenah Desert Storm.
At this point I arranged my design and stamped the sentiment using my MISTI.  I like to do this before the panel gets put together, if I am stamping flat to the front. It is from My Favorite Things Sweater Weather on Safari. Such good sentiments and cute images here, too! 


The circle background is also from my stash: Cedar Lane 6" X 6" paper pad called "Pink Paislee". That piece I glued flat to the card front and then popped up "Caesar" with 3M foam tape. "Caesar" received some white dots for eyes and a bit of white here and there with a white gel pen. Lastly I gave the white styrofoam cup a good coating with a Spectrum Noir Sparkle pen, as well as, "Caesar's" eyes and nose.

Here are all 3 cards I've submitted for the Coffee Lovers Hop Spring Summer 2020 using Pup in a Cup:
I hope you've enjoyed my take on this fun image and check out Jamie's shop for more fun goodies!
*Some of the links in this post are affiliate links. This means if you click on the link and purchase the item, I will receive a small affiliate commission at no extra cost to you. All opinions remain my own.

Not 2 Shabby Pup in A Cup for Coffee Lovers Hop

Hello my crafty friends and Happy Memorial Day! Perfect day to post about coffee and dogs using Not 2 Shabby's Pup in a Cup stamp set. I am participating in the Coffee Lovers Hop which has the theme of caffeinated - anything with caffeine.
Jamie, the owner of Not 2 Shabby, is a talented lady. I first heard the Not 2 Shabby shop on a store recommendation posted in Facebook. I looked at her shop and saw many of my favorite stamp companies in her stock, along with some new ones. I've place several orders and she offers great free shipping discounts, free items with $60, great prices and best of all she ships the same day in most cases.
This is Jamie's first manufactured design which she had produced in time for the hop. I have to be honest, some stamp companies' photopolymer stamps don't work cleanly at first and need a lot of preparation to get a good clean image. Not the case with this set. The image and the sentiments stamped perfectly first time!
Jamie has a You Tube Channel under Not 2 Shabby, where she shows a variety of ways to color not only this set, but her own digital designs, as well as, others.
To make this card I stamped the image onto Strathmore Watercolor paper and colored with Altenew's 36 half pan set using my #8 Silver Black Velvet brush. This watercolor is very smooth and creamy and stays vibrant! I stayed with purples and turquoise for the whole card. The eyes and cheek dots were with added once dry with a white gel pen. A little Spectrum Noir Sparkle was added to his eyes and nose. When all had dried, I fussy cut out the pup in a cup.
The background was created with a stencil I had in my stash and using Wendy Vecchi's Make Art Station, it was held easily down with the magnets in the set. I ink blended 2 of Altenew's Crisp Dye Inks (turquoise and wisteria) unto an A2 size of Neenah 100lb. Once I was happy with the blending, I die cut the panel with one of Jillian Vance's Basic Rectangles.
I also cut a circle using Jillian Vance's Polka Dot Circle set and sliced off a bit of the right side. I have to say, the Jillian Vance's dies are so sturdy, have not warped at all for me and leave a beautiful border. I stamped the front sentiments directly onto the card base and the white circle using my MISTI and Versafine Onyx Black ink. Finally, I glued the white circle flat to the card and popped up the pup with Scotch 3D foam.
The inside is from the stamp set, a simple Happy Birthday and one little heart. I did not add any extra embellishments for I thought this could be a masculine card.

I hope you've enjoyed my 2nd Pup in a Cup card and stayed tuned for #3!

*Some of the links in this post are affiliate links. This means if you click on the link and purchase the item, I will receive a small affiliate commission at no extra cost to you. All opinions remain my own.

Sunday, May 24, 2020

Not 2 Shabby Pup in A Cup

When I first saw Not 2 Shabby's Pup In A Cup I know I wanted to use it to submit a card (or 2 or 3!) for the Coffee Lovers Hop going on this week:

This cute set is the first stamp set designed by Jamie, the owner of the Not 2 Shabby shop. How exciting to be able to create your first design and see it come to fruition! The stamp stamped beautifully first time out and I look forward to more to come. This week Jamie is having a sale and free shipping at $35. Most times I have ordered the shipping is done within hours! 

I stamped the image onto watercolor paper and water colored with Altenew's 36 half pan set. I also stamped the image onto a piece of masking paper and fussy cut. Once the image was dry, I laid the masking paper over it, and ink blended the herringbone pattern with Distress Ink: Squeezed Lemonade and Pick Raspberry - always a perfect combination!
I stamped the bow twice and colored it once with yellow and once with pink and fussy cut them out. Glued down with Tombow Liquid Adhesive and a Pink and Main gem on top. A little Bubblegum twine rounded out the image.

I have a friend who owns a Pug and is going through a difficult time. I had her in mind when I created this card.

Well I hope you've enjoyed this card and give Jamie's shop a try and enter into the hop if you have time this week!

*Some of the links in this post are affiliate links. This means if you click on the link and purchase the item, I will receive a small affiliate commission at no extra cost to you. All opinions remain my own.