Monday, August 31, 2020

Art Impressions Doggy Kisses

Who doesn't love a card with a cute animal on it? For our family, dogs are the favorites! Our Rottweiler is named Caesar Salad, but we call him Squeeze. He looks nothing like this cutie! The inspiration for today's cards is from the following 2 challenges: Inspired By #IB139...give a dog a bone image & sketch challenge and...

My Time to Craft #439: Clean and Simple:
If you follow my blog you know that I have cleaned the top of my craft table and sorted all my colored bits and bobs into small bags. I have a bag of images from Art Impression's Doggy Kisses which had been colored with Kuretake Zig Clean Color Real Brush Markers and cut out with my Brother Scan 'n Cut. I choose the Dachshund cutie for today's card:

The background was made by using Prima Finnabar Elementals Stencil to mimic the circles on the sketch challenge. After adhering the stencil over an A2 size piece of Neenah White card stock, using my Wendy Vecchi Make Art-Stay-tion, I gently ink blended Altenew's Silver Lake Crisp Dye Ink from dark to light over just some of the card. As usual, I used Scrapbook.com's Foam Ink Blending Tools. They are domed and work perfectly for smooth ink blending. Once saturated, they work even better! They come in multiple sized packages and I keep a supply of clean domes on hand at all times. 
You can see the dark to light ink blending better here:
The border was created with Spellbinders Nestabilities Hemstitch Rectangle Dies - one of my all time favorites! It leaves a nice clean border but gives a lot of interest.


I messed up the sentiment on the card, so Plan B called for a popped up sentiment. I ink blended the same Altenew's Silver Lake Crisp Dye Ink over a scrap of white and then stamped the sentiment and cut it out with a die from my stash. Happy accident, as they say. I like it better!
The card base is from WPlus9 Dove Grey card stock. This is a pale grey with the perfect weight for a base, easy to score and fold with the right amount of contrast against white for a very Clean and Simple card. 

I hope you've enjoyed our little Dachshund card. I've left the inside sentiment off until I need to use the card and can personalize it to the situation. One of the many benefits of being a card maker. Thank you to the 2 challenge blogs for the inspiration today!
*Some of the links in this post are affiliate links. This means if you click on the link and purchase the item, I will receive a small affiliate commission at no extra cost to you. All opinions remain my own.

Friday, August 28, 2020

MFT Sketch Challenge 504 Slimline Birthday

Hi crafty friends! Ready for another Wednesday Sketch Challenge from My Favorite Things? #504:
I am also playing along with Cupcake Inspiration Challenge for their 500th Challenge: Birthday Celebration! Wow, 500...that's a lot!

Also, another NBUS (I am starting to get worried...am I a stamping hoarder?)!
I started with MFT's Celebrate Speech Bubble, new to me, but unfortunately retired from MFT (I did find it on FranticStamper.com)
Last weekend I cleaned up my desk area. I usually color all the images from a  stamp set at one time and have lots of images left over. I was keeping them in random little cups, but the walls started to close in on me! Umm...I thought if I put them in little plastic bags, they would take up so much less room, and they do! Also, I now know what I have. Now my goal is to try and use up all the bits and bobs in the bags! We'll see how that works out. 
I thought in lieu of the flag shown in the sketch, the speech bubble would be perfect. The stripes underneath are from MFT's card stock, Lemon Chiffon, Pineapple and Orange Zest, which matched my little "Sweater Weather" tiger guy perfectly (he was from my bags of colored images - Yah!). I had colored him on Ranger's Inkssentials Water Color Paper (love this paper!) with Derwent Inktense Water Color Pencils. Can you see how vibrant these watercolor pencils stay? They don't fade back.
In order for everything to fit in proportion, I made a portrait styled slim-line card. I used MFT's Cement Grey card stock and created a stitched border using Trinity Stamps Slimline Series: Stitched Frames:

The sentiment, from MFT's You WOW Me set (also retired from MFT, but available from Amazon), was white heat embossed on MFT's Orange Zest card stock. I used Honey Bee's Sentiment Banners die cut to cut out the sentiment. I have the hardest time cutting sentiments straight either by hand or my cutter. I much prefer to use sentiment banners and have several different sets in my stock. These particular ones have flag ends with a nice selection of sizes.
Both the sentiment and the little tiger were popped up with 3M foam tape for some added dimension.
Thank you for joining me today and thanks to the challengers: MFT's Weds. Sketch Challenge, Cupcake Inspiration Challenge and NBUS (Never Before Used Schtuff)!
*Some of the links in this post are affiliate links. This means if you click on the link and purchase the item, I will receive a small affiliate commission at no extra cost to you. All opinions remain my own.

Thursday, August 27, 2020

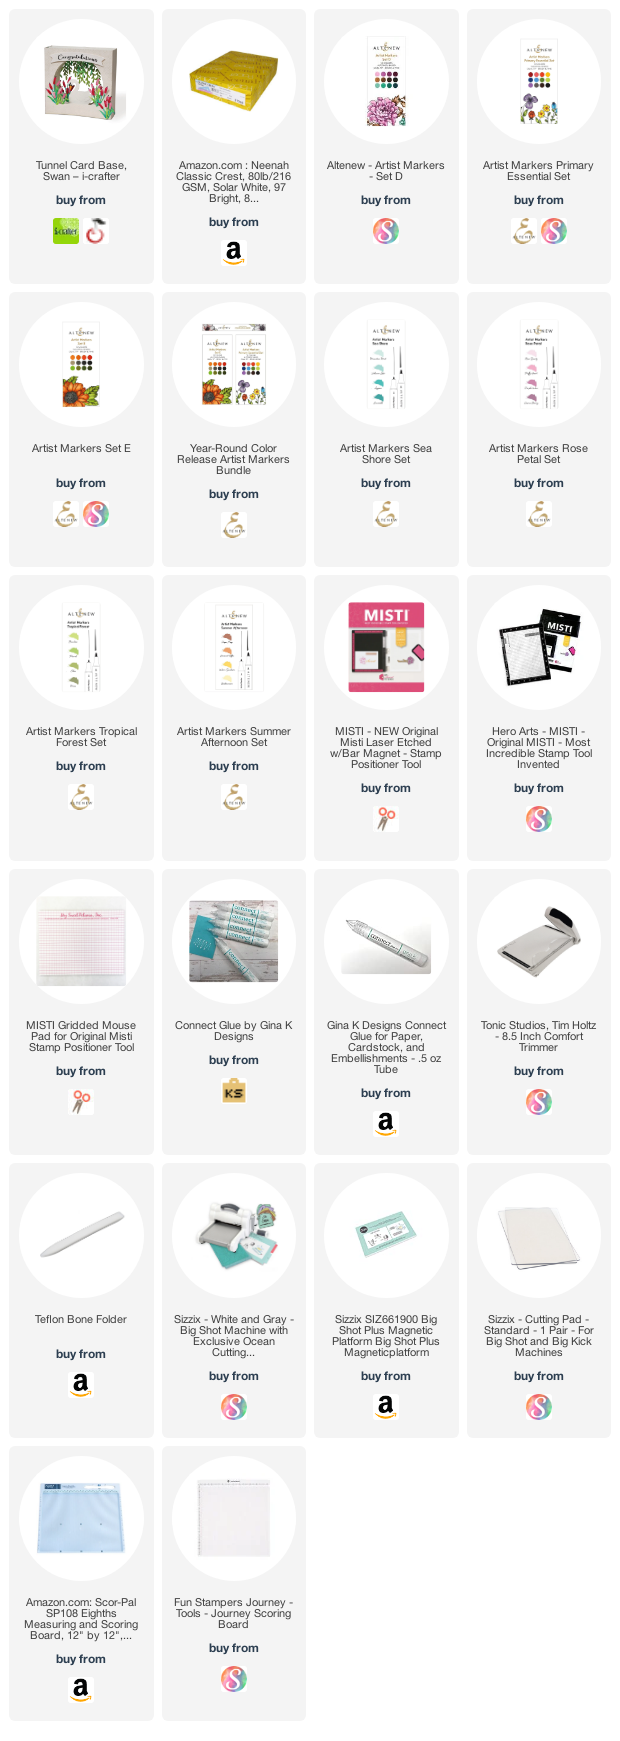
Swan Tunnel Card with i-crafter

Welcome friends, to a quick post about this new-to-me tunnel card from i-crafter. I am submitting to the NBUS challenge (again!):
I've don't usually make any other type of card beside a normal A2 or slimline card. But when I saw Creativation's You Tube video from Lynda Kanase, the creator and owner of i-crafter, I was fascinated. This is a tunnel card and has 3 layers. Here is the picture of the card from i-crafter's website:
This set is Lynda's first tunnel set and includes the base layer which is required for the additional sets (Christmas, Mermaid and soon, Halloween). There are 3 circle dies which fit into the base individually and cuts a layer. In this case there is the swan, the cattails and the greenery on the separate circle dies. They can be layered anyway you wish. Anyone of them can be in the front, middle and back. Shaker cards are a possibility, too. In this set there are 2 additional cattail dies and a curved banner die. I tried to show the layers here:
For this first card, I used Neenah Classic Crest 80 lb. card stock. I found that it scored better and was easier to fold than the 100 lb. version. The coloring was done with my Altenew Alcohol markers and the sentiment comes from Brutus Monroe's Sharon's Script.
I ended up putting the greenery in back and I think upside down, but it could really goes either way, the swan in the middle and the cattails in front. I should mention I used liquid glue for everything. I find any other type of adhesive is harder to use - it always catches where I don't want it! With liquid glue I can adjust the edges so that they line up perfectly.
#2 card made exactly the same way, colored a bit differently and had the greenery hanging down this time. The sentiment comes from The Greetery's - Sentiment Suite - Thinking of You.
Here is a picture of both side by side:
 The panels fold flat and fits into an A2 ( 4 1/4" X 5 1/2" card) sized envelope:
This picture above is from i-crafter's website, so you can see a different way to color and enhance the front. I could add a back panel to write the message, but I like it open all the way through. I think I would add a separate sheet in the envelope for the message and maybe glue a matching cattail on it.
I really enjoyed putting these together and just having them stand up on my desk! I do have the Christmas add-on and want to start that as my next project. Another NBUS! Thanks for visiting today!
BTW Lynda Kanase has very interesting professional background. Here is the link if you'd like to read about her:  https://i-crafter.com/elements/about/
*Some of the links in this post are affiliate links. This means if you click on the link and purchase the item, I will receive a small affiliate commission at no extra cost to you. All opinions remain my own.

Saturday, August 22, 2020

Give Thanks with Taylored Expressions Maker Challenge

This month's maker challenge from Taylored Expressions (TE) calls for 1) Creating a Scene, 2) use Sequins and 3) Use the color Green:
I am also going to play along with NBUS again. I could probably play with this challenge on every card. I have a lot of NBUS to use!
Umm...I knew I had this Taylored Expressions die, Border Builders - Evergreens, in my stash for quite a while and hadn't used it yet. Trees are green... so here is my starting point. 

I started with Ranger Inkssential Water Color Paper cut to 4 1/4" X 5 1/2" because I knew I wanted to cut it down. I thought I'd go for a sunset behind green trees and used Altenew's Watercolor 36 Pan set - basically the yellows and oranges.
I cut the trees (there are 2 dies) from Bristol Smooth card stock because I feel I do my best ink blending with that paper. I used 2 Distress Oxides with my Scrapbook.com Foam Ink Blending Tools, Peeled Paint and Iced Spruce. I cut multiple pieces so that I could layer the trees. Trying to put the darker Iced Spruce in the background.
The sentiment was stamped and heat embossed with TE Detail White Embossing Powder on Earl Grey card stock from TE's Earthy Collection set. I used the Mini Strips set called Harvest. The Iced Spruce color has a gray tone so I felt this color worked best.
If you haven't tried these Strips & Mini Strips yet, you are missing out on a great time saver. I usually have a white heat embossed sentiment on black, so with these Strips, I can create multiples at one time. Huge time saver and so nice to have so many options.  The mini die cuts all the sentiments at one time. You just line us the six squares on the side - perfect layers every time!
Today I created white heat embossed sentiments on grey and black card stock with this set. Ready for some Holiday cards!
The front panel was popped up on fun foam and finished with some sequins I've had in my stash for a long time. Maybe NBUS, too!
I've left the inside blank until the right occasion arises. I appreciate your visiting today and "In All Things Give Thanks"!
*Some of the links in this post are affiliate links. This means if you click on the link and purchase the item, I will receive a small affiliate commission at no extra cost to you. All opinions remain my own.

Friday, August 21, 2020

Sun Lovin' Stanta for MFT & Time Out Challenge

Welcome back to another MFT (My Favorite Things) Weds. Sketch Challenge:
I was inspired by the photo in time out Challenges - the beach scene with the surfboard:

I have the fun MFT set called Sun Lovin' Santa and the coordinating die and I thought of the surfboard right away:


How fun would it be to have the flamingo pulling a surfboard full of presents?
I pulled out 2 stencils from Taylored Expression: Mosaic Leaves and Square Masking Stencils, along with my 7" Wendy Vecchi Make Art Stay-tion.

I wanted pretty much a one layer card, so first I laid the largest square stencil (see picture above at the far right) and then the Mosaic Leaves stencil over it. To keep it from moving around, I just used the magnets with the Make Art Stay-tion to hold all in place.
Using Ranger's Distress Oxide in Twisted Citron and my Scrapbook.com Foam Ink Blending tool, I did a nice gentle blend over the A2 sized card front. Here is how it looks at this point, white masked off center with green leaves all around:
Next, I laid the card sized square masking stencil over the card front. This protects the edges but perfectly matches the white center square and leaves it open for further design:
In this center area, I ink blended (all Oxide inks) Tea Dye and Wild Honey for the sand and a bit of Salty Ocean for the sky. I added the images which I had previously colored with Derwent Inktense Watercolor Pencils on to Ranger Inkssential Water Color Paper.  I drew a line with my Copic black marker from the wing of the flamingo to the sled.
A good coat of sparkle was added with my Spectrum Noir Sparkle Marker to a few areas. The sentiment comes from Taylored Expressions Simple Strips - Christmas:
This is a one piece red rubber stamp that you stamp and/or heat emboss at one time. I used white embossing powder on red card stock. Then using the coordinating die, you simply line up the six squares on the side and run it through your die cut machine, one time! Viola! you now have multiple sentiments ready to go. I actually created mine previously, so it is a great time saver.
Taylored Expressions has recently come out with storage boxes for the strips and I just received mine. I plan to get organized this weekend!
The inside sentiment comes from Scrapbook.com Holly Jolly Sentiments which I have used many many times. All different fonts and sayings. I especially like the typewrite font I chose for this card:
Finally, the images I used for the circles shown in the sketch were snowflakes from Spellbinders Festive Wreath Slider:
I bought this when it was the Large Die of the Month in June 2019. I have made the slider card - quite easy - and I love to use all the little dies that come along with the set. The snowflakes were 1 die linked together, but it cut 3 snowflakes separately. 
It's always nice to mix and match your stamps and dies in your stash. You feel like you are getting more value for your money. I love how this card turned out...I seem to be on a Christmas themed roll and thanks for staying to the end!
*Some of the links in this post are affiliate links. This means if you click on the link and purchase the item, I will receive a small affiliate commission at no extra cost to you. All opinions remain my own.