Thursday, August 27, 2020
Welcome friends, to a quick post about this new-to-me tunnel card from i-crafter. I am submitting to the NBUS challenge (again!):
I've don't usually make any other type of card beside a normal A2 or slimline card. But when I saw Creativation's You Tube video from Lynda Kanase, the creator and owner of i-crafter, I was fascinated. This is a tunnel card and has 3 layers. Here is the picture of the card from i-crafter's website:
This set is Lynda's first tunnel set and includes the base layer which is required for the additional sets (Christmas, Mermaid and soon, Halloween). There are 3 circle dies which fit into the base individually and cuts a layer. In this case there is the swan, the cattails and the greenery on the separate circle dies. They can be layered anyway you wish. Anyone of them can be in the front, middle and back. Shaker cards are a possibility, too. In this set there are 2 additional cattail dies and a curved banner die. I tried to show the layers here:
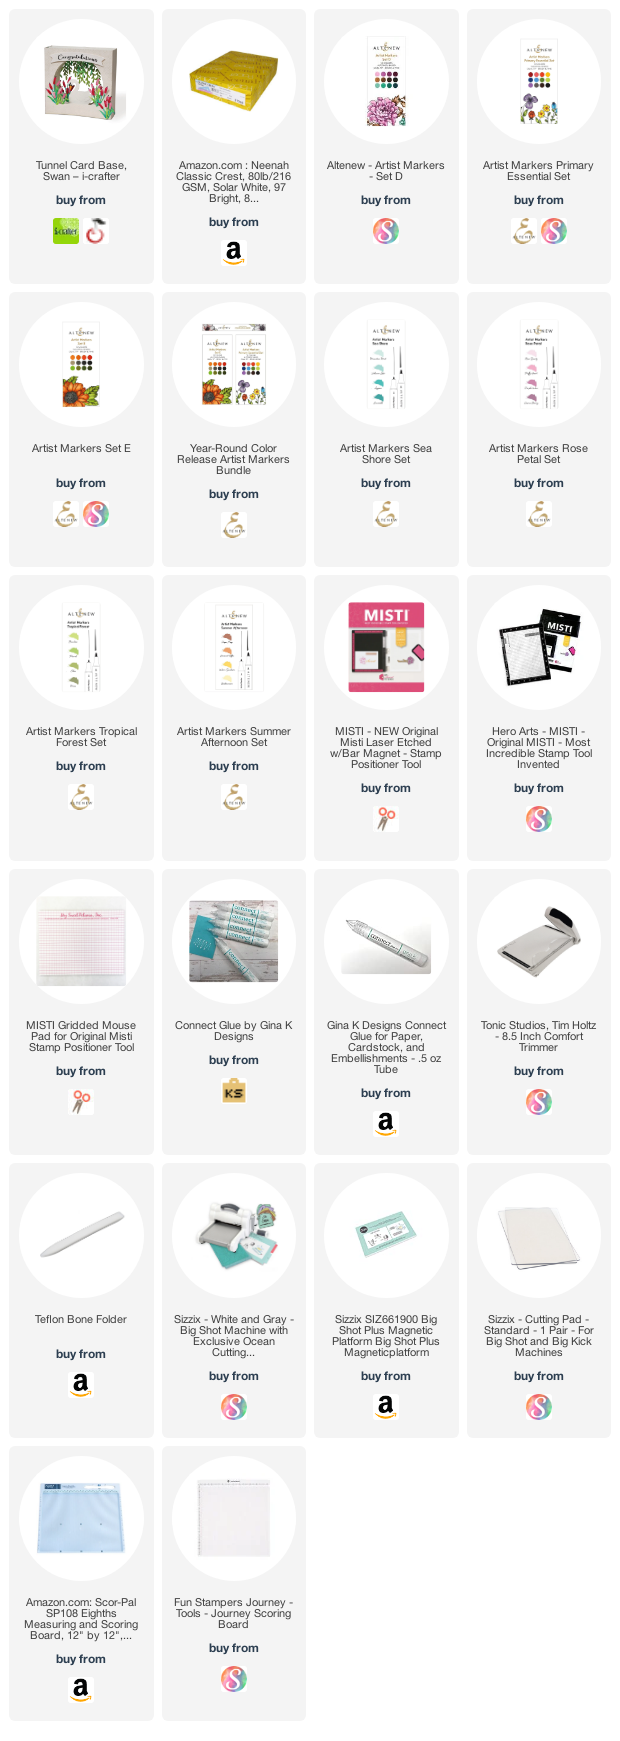
For this first card, I used Neenah Classic Crest 80 lb. card stock. I found that it scored better and was easier to fold than the 100 lb. version. The coloring was done with my Altenew Alcohol markers and the sentiment comes from Brutus Monroe's Sharon's Script.
I ended up putting the greenery in back and I think upside down, but it could really goes either way, the swan in the middle and the cattails in front. I should mention I used liquid glue for everything. I find any other type of adhesive is harder to use - it always catches where I don't want it! With liquid glue I can adjust the edges so that they line up perfectly.
#2 card made exactly the same way, colored a bit differently and had the greenery hanging down this time. The sentiment comes from The Greetery's - Sentiment Suite - Thinking of You.
Here is a picture of both side by side:
The panels fold flat and fits into an A2 ( 4 1/4" X 5 1/2" card) sized envelope:
This picture above is from i-crafter's website, so you can see a different way to color and enhance the front. I could add a back panel to write the message, but I like it open all the way through. I think I would add a separate sheet in the envelope for the message and maybe glue a matching cattail on it.
I really enjoyed putting these together and just having them stand up on my desk! I do have the Christmas add-on and want to start that as my next project. Another NBUS! Thanks for visiting today!
BTW Lynda Kanase has very interesting professional background. Here is the link if you'd like to read about her: https://i-crafter.com/elements/about/
*Some of the links in this post are affiliate links. This means if you click on the link and purchase the item, I will receive a small affiliate commission at no extra cost to you. All opinions remain my own.StampinwithAnita
Hello, welcome to Stampin With Anita. I love crafting in all forms. It gives me great joy to create something special. I hope you enjoy your visit.
you may also like
Subscribe to:
Post Comments (Atom)
Categories
#simplestamping
(4)
abstract
(2)
alcohol markers
(11)
Anniversary
(3)
baby
(6)
Back on Your Feet
(3)
balloons
(10)
Beach
(10)
Believe You Can
(3)
Birds of a Feather
(2)
Birthday
(26)
birthday card
(22)
Black & White
(5)
blog hop
(2)
Bokeh
(2)
Buffalo Check
(2)
butterflies
(13)
Butterfly Gala
(2)
Cake
(3)
card challenge
(15)
CAS
(34)
CAS Christmas
(12)
CAS Stencil
(4)
CAS Watercolor
(14)
Christmas
(19)
CI#48
(2)
clean and simple
(3)
Color Throwdown
(15)
Colour Inkspiration. ink blending
(3)
Crafting Forever
(2)
deer
(3)
Disney
(1)
dog
(8)
DSP
(2)
embossing
(10)
Embossing Folder
(14)
Embossing Paste
(7)
Encouragement
(10)
Father's Day
(7)
featured
(2)
Flowers
(10)
Free As A Bird
(3)
Freezer Paper
(2)
Freshly Made Sketches 366
(2)
Get Well
(4)
Guest Designer
(6)
Halloween
(8)
Ink Blending
(120)
Ink Smooshing
(3)
International Highlights
(1)
Kylie
(2)
kylie bertucci
(5)
Kylie's International Blog
(2)
Lace
(3)
large alphabet
(2)
Laura Bassen
(1)
Lots of Cheer
(2)
Lovely as a Tree
(2)
masculine
(11)
masculine card
(6)
masking
(9)
Mother's Day
(2)
NC demos
(2)
New home
(3)
Notes of Kindness
(2)
Ornament
(1)
Pigment Sprinkles
(6)
rainbow
(5)
Repeat Stamping
(2)
Reverse Technique
(2)
Rooster
(1)
Rose
(3)
Shaker card
(2)
shaving cream
(4)
Sheet Music
(4)
sketch challenge
(7)
small stamps
(2)
Snowflakes
(2)
SSC197
(2)
Stamp 'n Blends
(2)
Stampin' Blends
(5)
Stampin' Up!
(5)
stars
(4)
Stencil
(31)
step technique
(1)
Sweet Friend
(3)
Swirly Bird
(2)
sympathy
(10)
tea
(5)
Thank you
(17)
Thanksgiving
(6)
Top Ten
(2)
Treat Holder
(1)
typewriter
(2)
Valentines Day
(1)
Watercolor
(169)
Watercoloring
(31)
Wedding
(6)
Winners
(2)
Popular Posts
-
Hello Friends and Happy Thanksgiving! I have been graciously invited by Scrapbook.com to take part in their inspiring Handmad...
-
Welcome to my blog post for Kylie Bertucci's March Hop. No theme, just use current Stampin' Up! products. I reached for ...
-
Hi all! Welcome to Kylie Bertucci's training group blog hop for January 2019. We are a group of Stampin' Up! demonstrators worki...
-
Hello CAS friends and welcome to my Guest Designer post for CAS Christmas October 2020: Christmas Birds ! I won the CAS Christmas Challe...
-
Welcome to June 2019 Blog Hop for Kylie Bertucci's Demonstrator Training Team. No theme, just use current Stampin' Up! produc...
-
Welcome to the Training Blog Hop for February 2019! We are all Stampin' Up! Demonstrators from all over the world working wit...
Welcome
I am a wife of 48 years married to my best friend, Mike. He has always been my biggest supporter. We have 3 beautiful daughters and 2 wonderful grandchildren. Also, I am a college graduate, still working full time, and trying to squeeze in every crafting moment possible. Working with my hands, whether it is papercrafting, stamping, painting, cross-stitching, zentangling or quilting - brings joy to my life. I love color in all its various forms.
Connect With Me
[facebook][https://www.facebook.com/stampinwithanita/]
[envelope][https://stampinwithanita.blogspot.com/p/contact.html]
[pinterest][https://www.pinterest.com.au/neetspainting/]
Subscribe to stay updated!
Sign up with your email address to receive the latest updates straight in your inbox.
Gorgeous tunnel card, Anita - just love how you colored everything!!
ReplyDeleteThank you, Linda!
ReplyDelete