Monday, September 28, 2020

My Favorite Things Sketch Challenge 508 with Harvest Mouse

Hi all! I wanted to play along with MFT's Sketch Challenge this week:
I challenged myself to use some bits and pieces that were on my craft table and also patterned paper. I've had the retired stamp from MFT, Harvest Mouse, for a while and I had already colored all of the images. I used Ranger's Inkssential Watercolor paper and Derwent Inktense Pencils which are my go to coloring media now.
I pulled out my MFT 6" X 6" paper pads and choose some harvest colors which I felt matched my little mouse. I have to really make an effort to use patterned paper and when I do I wonder why I don't use it more often. It makes for a fast card! I used my Hero Arts Infinity Circle Dies to cut the various circles.
The sentiment is from MFT's Sweet Sentiment...white heat embossed on black card stock.

Here is a second card using the same sketch outline. The sentiment comes from Taylored Expressions Simple Strips Background.
So much fun to have a sketch as a starting point for designing a card. Just pull out what you have and use up those extra pieces on your desk! Thank you for joining me today and to MFT for hosting these fun weekly challenges.
*Some of the links in this post are affiliate links. This means if you click on the link and purchase the item, I will receive a small affiliate commission at no extra cost to you. All opinions remain my own.

Saturday, September 26, 2020

Slimline Card for Baby Girl

Hi friends! Crazy 4 Challenges has challenges this month that begin with "S". The current challenge is "Slimline" - make a slimline card.
Also, playing along with NBUS - the digital stamp, mountain dies and inside sentiments:
My nephew recently asked me to make a card for his friends that just had a baby girl. I thought I'd make an eclipse card with her name popped up, but he said they have a special place in their hearts for Denver, Colorado where they were married. Umm...a baby girl card with mountains? Could I make that work? I thought about a baby floating in an air balloon over mountains...or something like that.
I searched and started with a digital stamp from my new favorite Etsy shop called: Lili of the Valley. One of the many advantages to a digital stamp is that you receive it right away! Lili of the Valley has the most darling images that you can download, print on your favorite paper and color. The sentiments also come from the Lili of the Valley Etsy shop and it is so easy to copy, paste and size perfectly onto the image. I use Word, put my scene together and then print first on copy paper as a test.
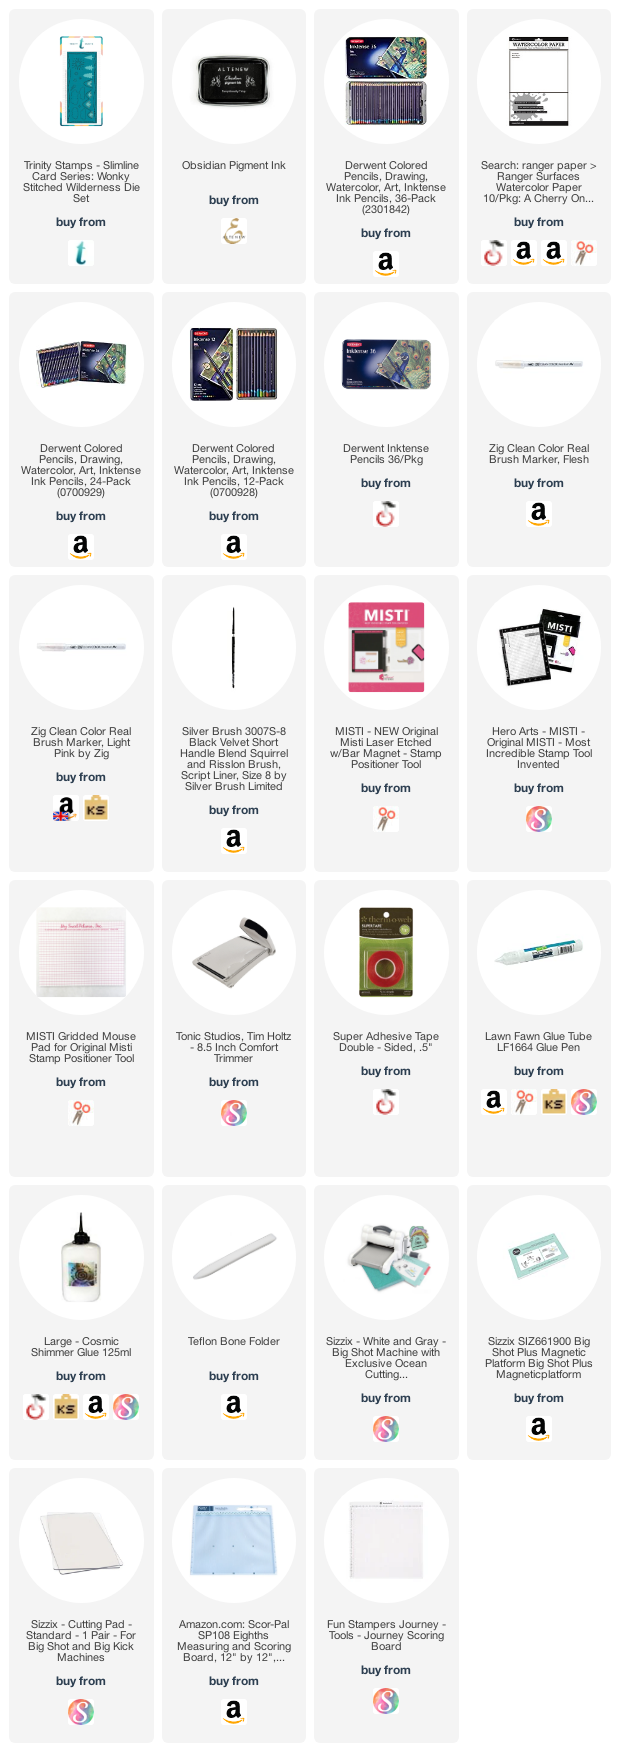
To print, I used Ranger's Inkssential Watercolor paper through my Brother Laser Printer. The coloring was done with Derwent Inktense Watercolor Pencils. I also used my Zig Clean Color Real Brush Markers for the skin coloring.
The mountains were created with 2 tones of grey cardstock. The darker mountains in the front and lighter in the back. I used my Trinity Stamps Wonky Stitched Wilderness Die Set to create the mountains:

It has a set of 3 mountains and a single mountain with snow caps for them. The clouds, stars, etc. do not die cut, they just leave a dotted outline on your card so I decided not to use them, but just leave the clouds from the digital stamp.
I used a slimline die set from Creek Bank Creations called Slim Stitched Rectangle Dies which I purchased at a Raleigh, NC stamp show several years ago. This cut the panel a little larger than a #10 envelope once mounted on a card base.
The inside sentiment is from my stash - Simon Says Stamp Critter Crowd - actually more NBUS! I used a nice sturdy double sided adhesive to put the panels together.
In order for this card to fit into an envelope, I created my own from a piece of 12" X 12" card stock. I was previously a Stampin' Up! demonstrator and have a lot of paper to use up! I am also happy to put it to good use. I just did a search for slimline envelopes in You Tube, but had to modify it to be bigger. I also die cut an outside label for the card and gave it a really good adhere with liquid adhesive. 

My nephew's plan is to send this card all around to his friends to sign and eventually send it to the parents. It will have to be sent in a manila envelope between cardboard pieces until it is ready for the final sending. Let's hope it makes it in one piece! 

Well I hope you enjoyed this post and how a baby girl card with mountains came to be! Thank you to Crazy 4 Challenges and NBUS for hosting!
*Some of the links in this post are affiliate links. This means if you click on the link and purchase the item, I will receive a small affiliate commission at no extra cost to you. All opinions remain my own.

Wednesday, September 23, 2020

The Card Concept Fanciful Fall Zentangle

Hi friends and welcome to the 2nd Card Concept Challenge for September 2020: Fanciful Fall:
What a beautiful inspirational picture...where to start? The leaves, the colors, the designs? I went with all 3 and created a colorful Zentangled card with the Clean & Graphic Style:
What is Zentangle? As some of you may know, I have been a Decorative Painter for many years and have had the opportunity to take several Zentangle classes. 

Here is how Google described as Zentangle:

"The Zentangle Method is an easy-to-learn, relaxing, and fun way to create beautiful images by drawing structured patterns. We call these patterns, tangles. You create tangles with combinations of dots, lines, simple curves, S-curves and orbs. These simple shapes are the "Elemental Strokes" in all Zentangle art."

Zentangle is so easy and can be done on paper, rocks, canvas, just about anything. We were taught to look around in your space and look at the designs which create the 3 dimensional item. For example, look at a tree, but really look at the shapes that are in the bark. Recreate them in a doodle. With a simple Micron Pen in Black, the sky is the limit! So much inspiration in the world!

Zentangle can be free form shapes, but I choose to use Altenew's Leaf Burst Stencil to create the base of colors. I simply ink blended many colors of Altenew's Crisp Dye Ink (see list below) on Bristol Smooth Card Stock using my Wendy Vecchi Make Art-Staytion
Next, using a Micron pen I drew all different doodles, patterns or tangles inside the leaves. Since the leaves were small, I was limited in design, but I was happy with the overall pattern when finished.
The sentiment was created using my Spellbinders' Glimmer Hot Foil System and one of the Everyday Sentiment II with silver foil. I just love how clean these sentiments come out when foiled. I also created a 2nd card, but without Zentangle:
Hard to capture the rose gold foiled sentiment, but in real life it is stunning. This is Spellbinders' Effortless Sentiments Glimmer Hot Foil Plate & Die.

This was a fun challenge and I hope you play along with us. Give Zentangle a try...there are no mistakes...just fun doodling!
*Some of the links in this post are affiliate links. This means if you click on the link and purchase the item, I will receive a small affiliate commission at no extra cost to you. All opinions remain my own.

Saturday, September 19, 2020

MFT Superstar 2020 Coloring Virtuoso

Welcome to my 2nd card for the 2020 Card Design Superstar Challenge by My Favorite Things. This challenge is for the Coloring Virtuoso.

I've has this MFT stamp set in my stash for a while: Fresh Cut Flowers Background. I knew I needed a few sympathy cards so I thought this image would be perfect.
I stamped the image onto Ranger's Inkssential Watercolor paper with Altenew's Obsidian Black Ink, sprinkled Nuvo's Clear Embossing Powder over it and heat set. I water colored it with Altenew's 24 pan set and Derwent Inktense Watercolor Pencils. While it was drying, I stamped the image again onto Gina K. Masking Paper and fussy cut. I laid the mask over the colored imaged and stamped a background over the entire picture with MFT's Romantic Script Background stamp with Scrapbook.com Tan #2 Hybrid Ink (Camel):
This created a nice soft background against the bright floral image.
The sentiment comes from MFT's More Essential Sentiments:
Such a pretty card. I used my retired MFT Blueprints 15 stitched die to finish the edges.
I made a second card in purples. All the same except the edges were created with MFT's retired Stitched DOME STAX die.
I always remember the purple lovers!
Thanks for joining me today! There are some amazing coloring virtuoso out there and many of them joined this challenge. The judges have their work cut out for them. Thank you MFT!
*Some of the links in this post are affiliate links. This means if you click on the link and purchase the item, I will receive a small affiliate commission at no extra cost to you. All opinions remain my own.

MFT 2020 Superstar Clean & Simple Genius

Hi all! Welcome to my card entry for the MFT 2020 Card Design, Superstar, Clean and Simple Genius:
What a fun challenge and $4000 in prizes! I've seen some of the cards posted and they are amazing. I don't expect to win, but I always like to challenge myself and play along. I always learn something with each card I make.
This little elf, from the MFT's BB Santa's Elves is one of my absolute favorites. These images are so darling and so much fun to color.

I stamped the elf onto Ranger Inkssential Watercolor paper with Altenew's Obsidian Black Ink. I colored 3 of them. I usually do this for practice and then pick my favorite for the card. Sometimes the first one turns out the best, sometimes the last one. I fussy cut out all three.
The card base was created with the new MFT set called All Lined Up Diagonally.
I stamped it onto Bristol Smooth card stock with Versamark ink and sprinkled Nuvo White Embossing Powder over it and heat set. Because Bristol Smooth has a cream cast, the white does show up, although subtle. I just like some texture in the background, even on a Clean and Simple card. I colored the elves with my Derwent Inktense Watercolor pencils. The bell was colored with silver metallic pen.
The smile die is from MFT's Big Smile. "Stripping" is all the rage right now on cards - cutting various thin strips of colored card stock and adhering them to a panel of card stock. I used a turquoise, red and yellow to coordinate with my elf. I cut the Smile word about 5 times, one of them through the strips. They were glued together for a nice dimensional look.
The sentiment which was white heat embossed on black card stock comes from another great MFT set called BB Christmas sELFies. I've colored all 6 of these images and need to create a card with them...umm...maybe a slimline?
This is my CAS card for the challenge, lots of white space, 3 "images", bright and colorful. My favorite look. Thanks for joining me today and thank you to My Favorite Things for sponsoring this great challenge!
*Some of the links in this post are affiliate links. This means if you click on the link and purchase the item, I will receive a small affiliate commission at no extra cost to you. All opinions remain my own.