I do seem to be making quite a few Christmas cards early this year. I actually think I have enough for my personal use already, but since I have so many fun stamps and dies with Christmas themes, I think I'll keep making them. The challenge from #tgifc279 is to make a 3D card and I knew I wanted to use the i-crafter, Tunnel Card Santa Add-On to create a tunnel card.
I am going to play along with September's NBUS (Never-Before-Used-Schtuff) because the Santa Add-On is new to me:
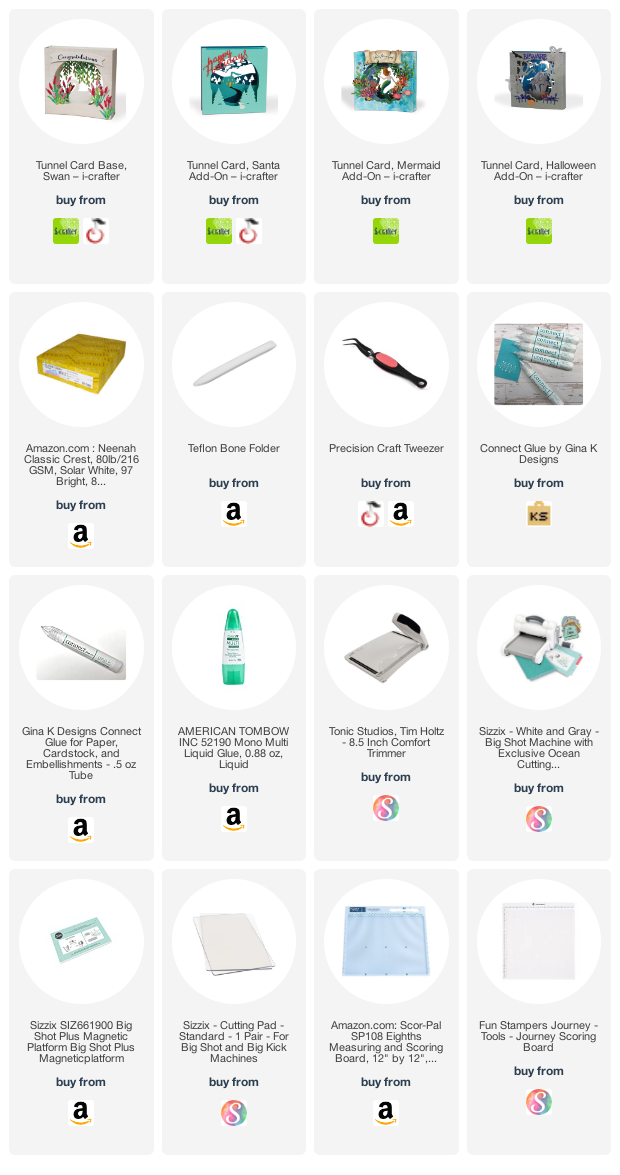
To make a tunnel card with the i-crafter dies, you need to start with the Tunnel Card Base, Swan die. I couldn't find a picture of the base, it may be so that it isn't copied illegally. Once you have the base, Lynda Kanase, owner and designer of i-crafter has designed several add-ons. I am using the Santa Add-On. There is also a Mermaid Add-On and a Halloween Add-On. They can be used to make a flat card or a shaker card ,too!
The base is the die which holds these interchangeable drop in pieces. Once you run it through your die cutting machine, it cuts the images and scores the edges to make the dimension for the tunnel card. You make 3 die cuts in total. Next, you fold on the score line on the front and back piece. The piece that is in the center, you cut off the sides at the fold line. It is sounding more complicated than it is. Lynda has a video explaining the process on the i-crafter's web site.
I realized as I was writing this blog that I didn't stamp at all on this card! I only used card stock from my stash - Neenah Solar Classic Crest 80 lb., turquoise, dark brown, a bit of yellow and finally the "snow" - white glitter card stock.
I used liquid glue for the entire card. I find it easier to line up the sides and interior pieces if I have a bit of "wriggle room". Also, tweezers are your best friends when putting small die cuts together!
You can see the 3D effect here:
These tunnel cards also fold flat and fit into an A2 sized card. I will add a personal note along with the card. This is a picture from the website showing how they fold flat and are inserted into an envelope:
I made 2 of the Swan Tunnel cards in a previous blog. If you click on the pictures it will take you to it.
Thank you to TGIFC for hosting this fun challenge! I hope to create many more tunnel cards in the future. Kind of addicting!
*Some of the links in this post are affiliate links. This means if you click on the link and purchase the item, I will receive a small affiliate commission at no extra cost to you. All opinions remain my own.


Oh WOW, this is fantabulastic!!! I am in love with the tunnel effect and all the great layering you have created. A big thanks for creating along with us at TGIF this week. Smiles, Elizabeth
ReplyDeleteThank you, Elizabeth! Great challenge and I learned a new word: "fantabulastic"!
DeleteThank you for playing along with us this week at TGIF Challenges! Omg!!! This card is beyond amazing! Love all of the little details!!!
ReplyDeleteThank you so much, Tammy! I appreciate the kind comment.
DeleteSo beautiful, Anita, and so fascinating! How can this delightful 3D tunnel card fit into an A2 envie? It's like magic to me!! Thank you for sharing with everyone at NBUS! Keep well!! Hugs, Darnell
ReplyDeleteI know, crazy how that works! Thank you, Darnell for the kind comments and I am loving your challenge NBUS!
DeleteVery creative and fun! Love the dimension that you get
ReplyDeleteThank you!
Delete